Soul Ceramics was everything and more! Great product and delivery from placing an order to tracking the delivery. I wanted to use the kiln a few times before commenting and now ready. The Evenheat 14 is the perfect size for a home or small studio and SoulCeramics is the perfect place to get it. They have the best products and price! I will continue to support this business.
I did my homework by reading other reviews from different businesses. Soul Ceramics had the best reviews on customer service. I put them to the test. I called and asked questions about the kiln that I was interested in. I got my answers and ordered a week later. They really do keep in touch with the buyer and like many others, it took half the time for my delivery. I have never seen anything delivered with so much care. Setting up went very smooth.
Kathleen, Dragon and Fairiy Creations


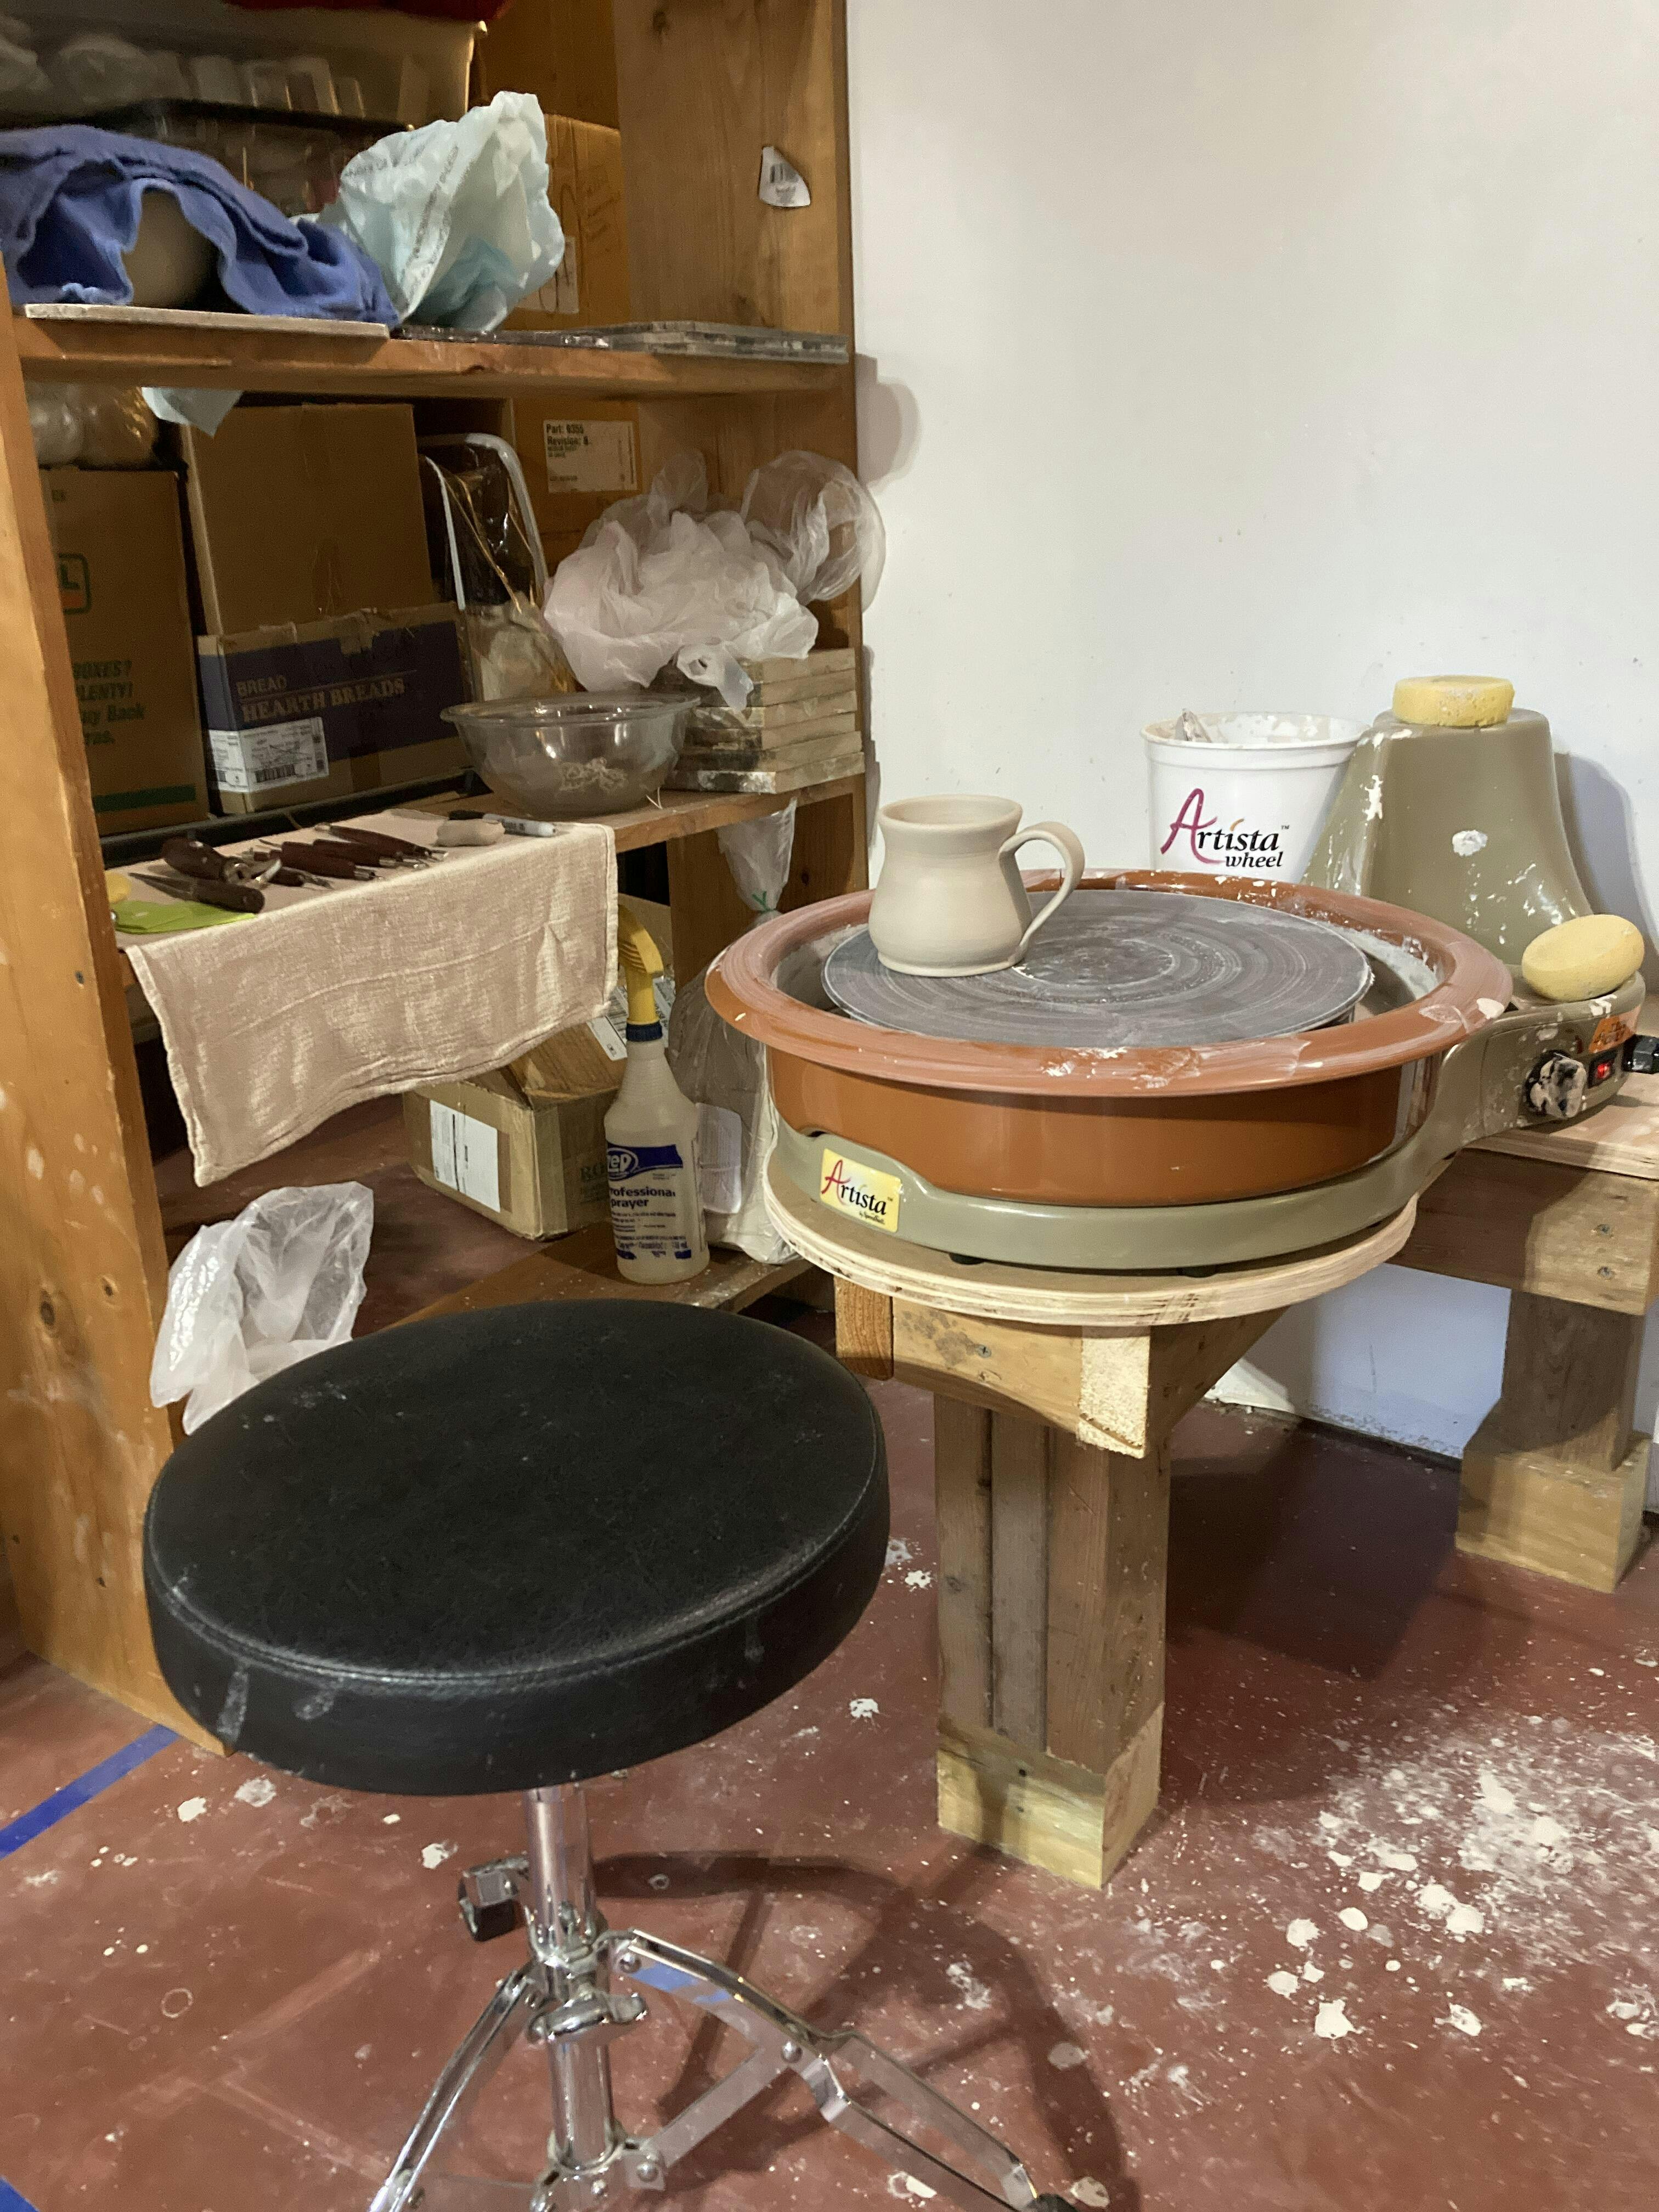
Wheel arrived in perfect condition, and answers to my many questions were always prompt and friendly. I love this company!
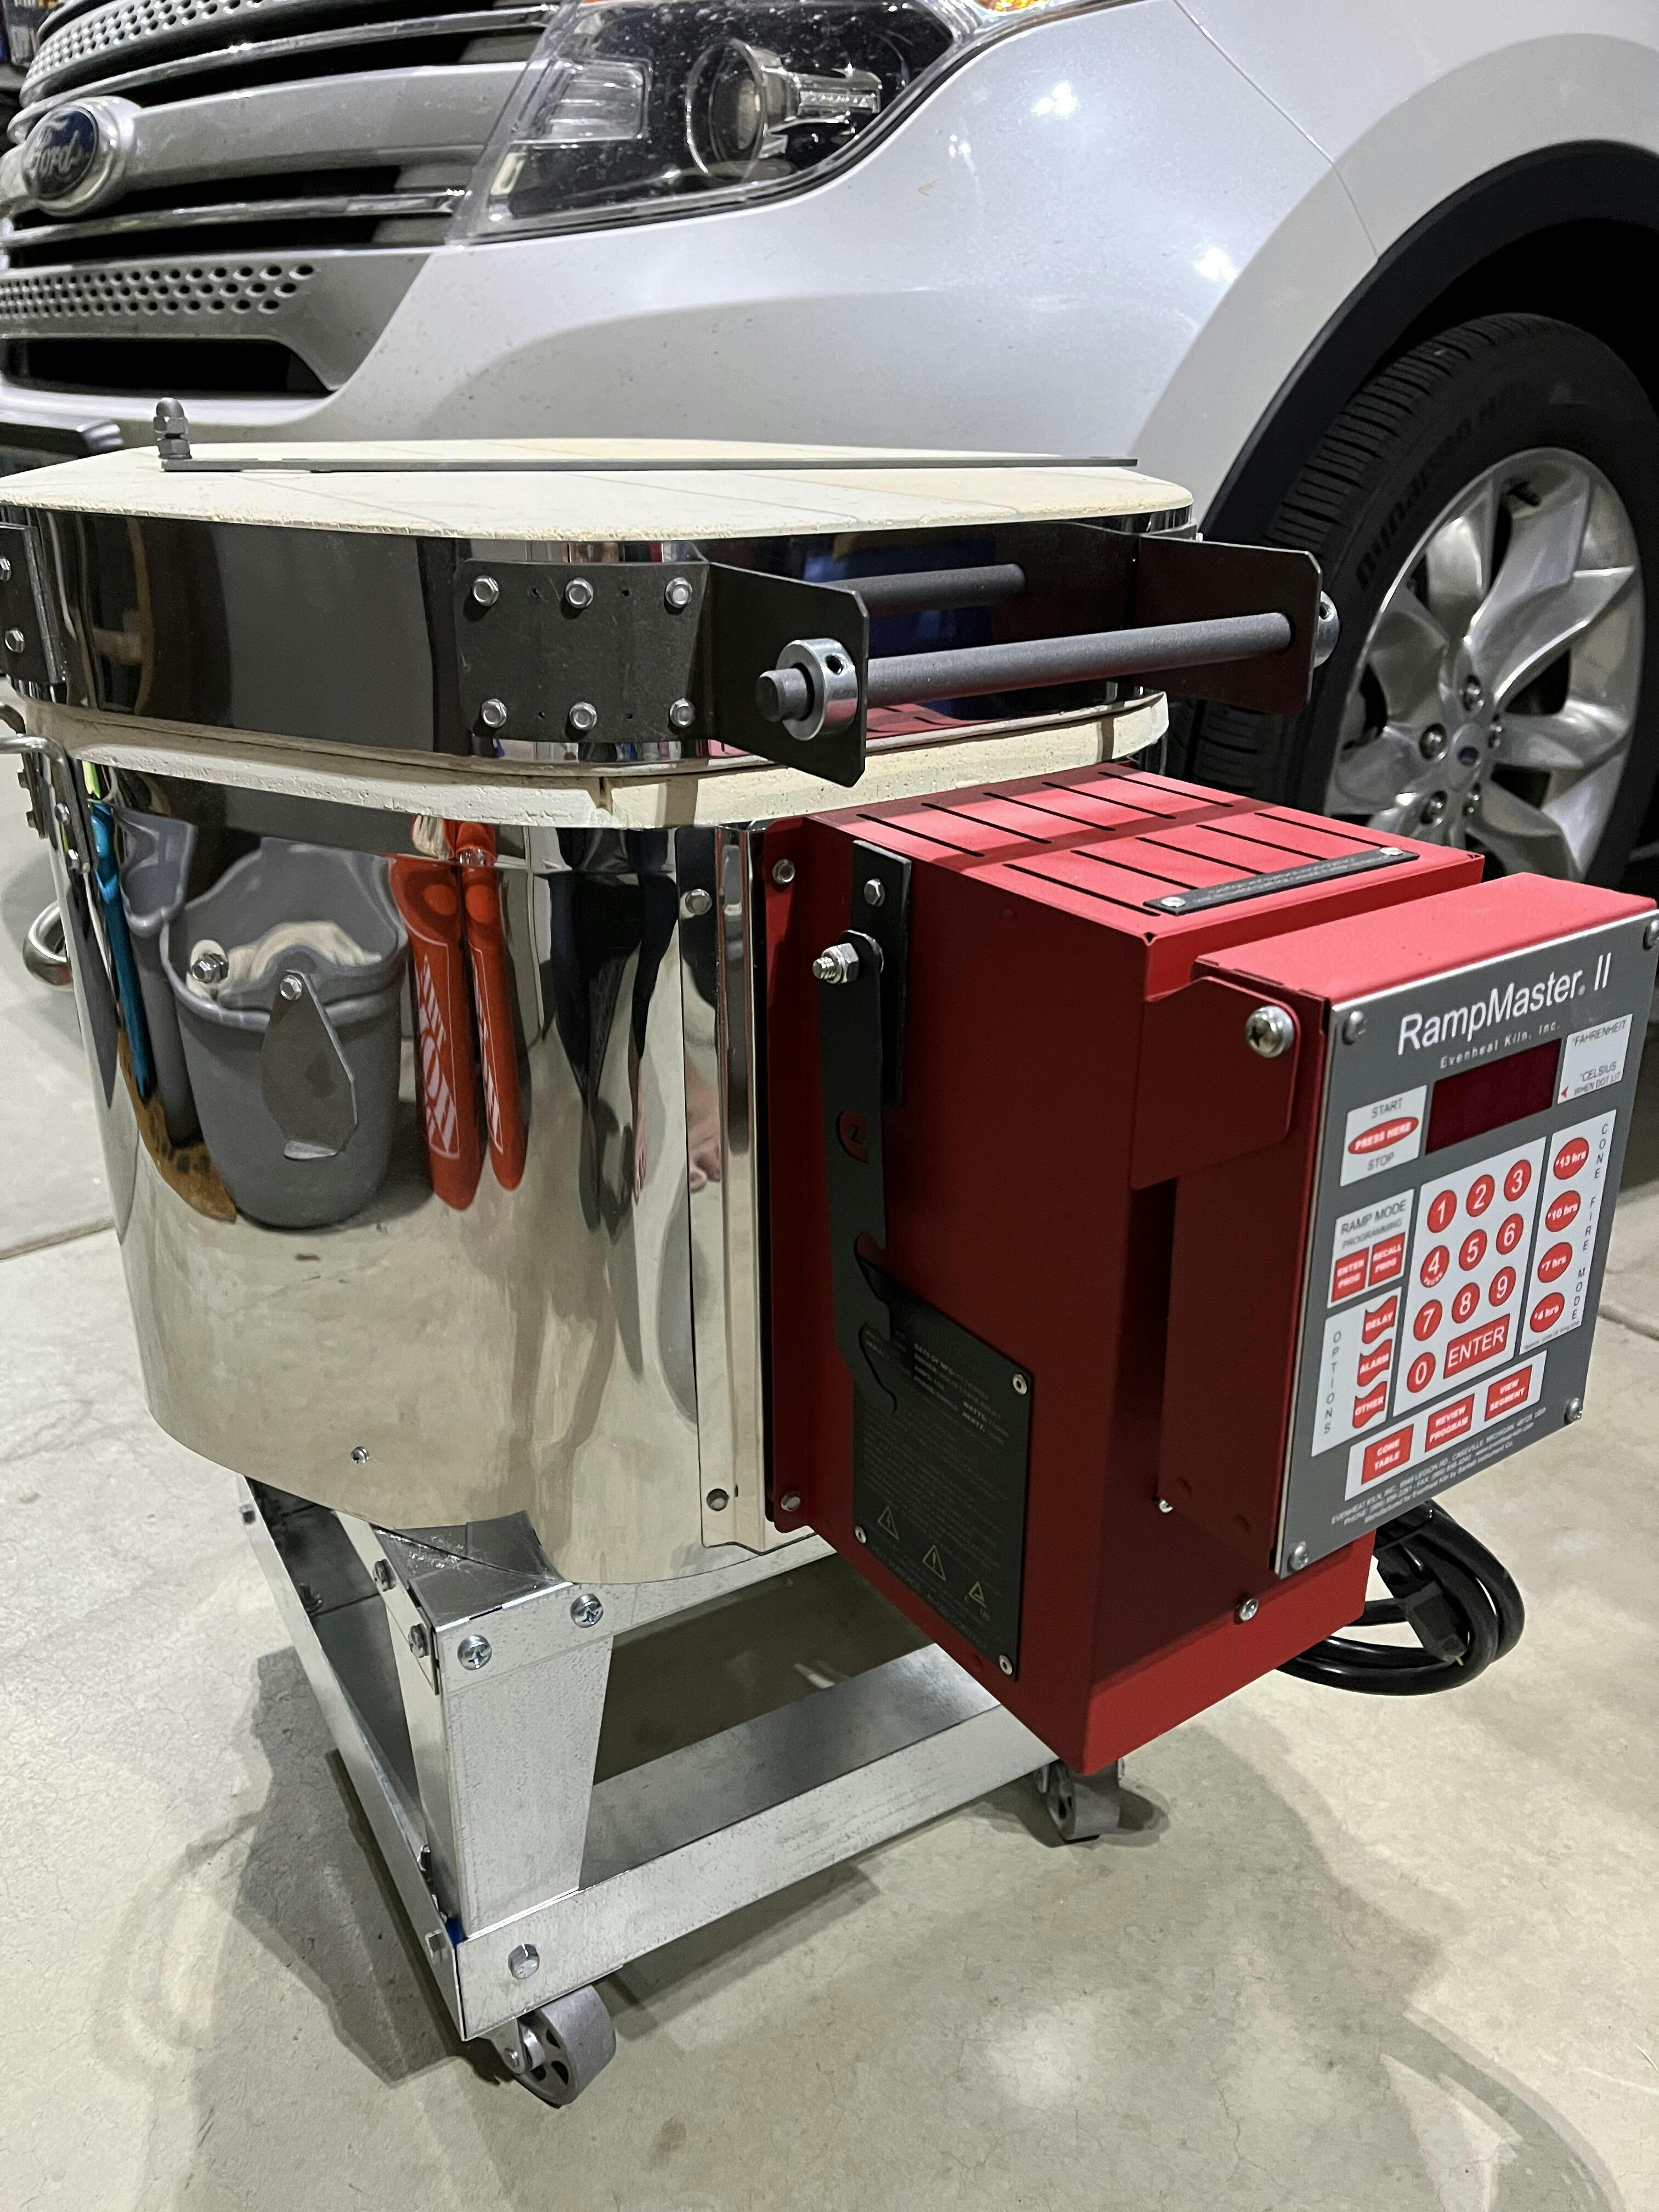
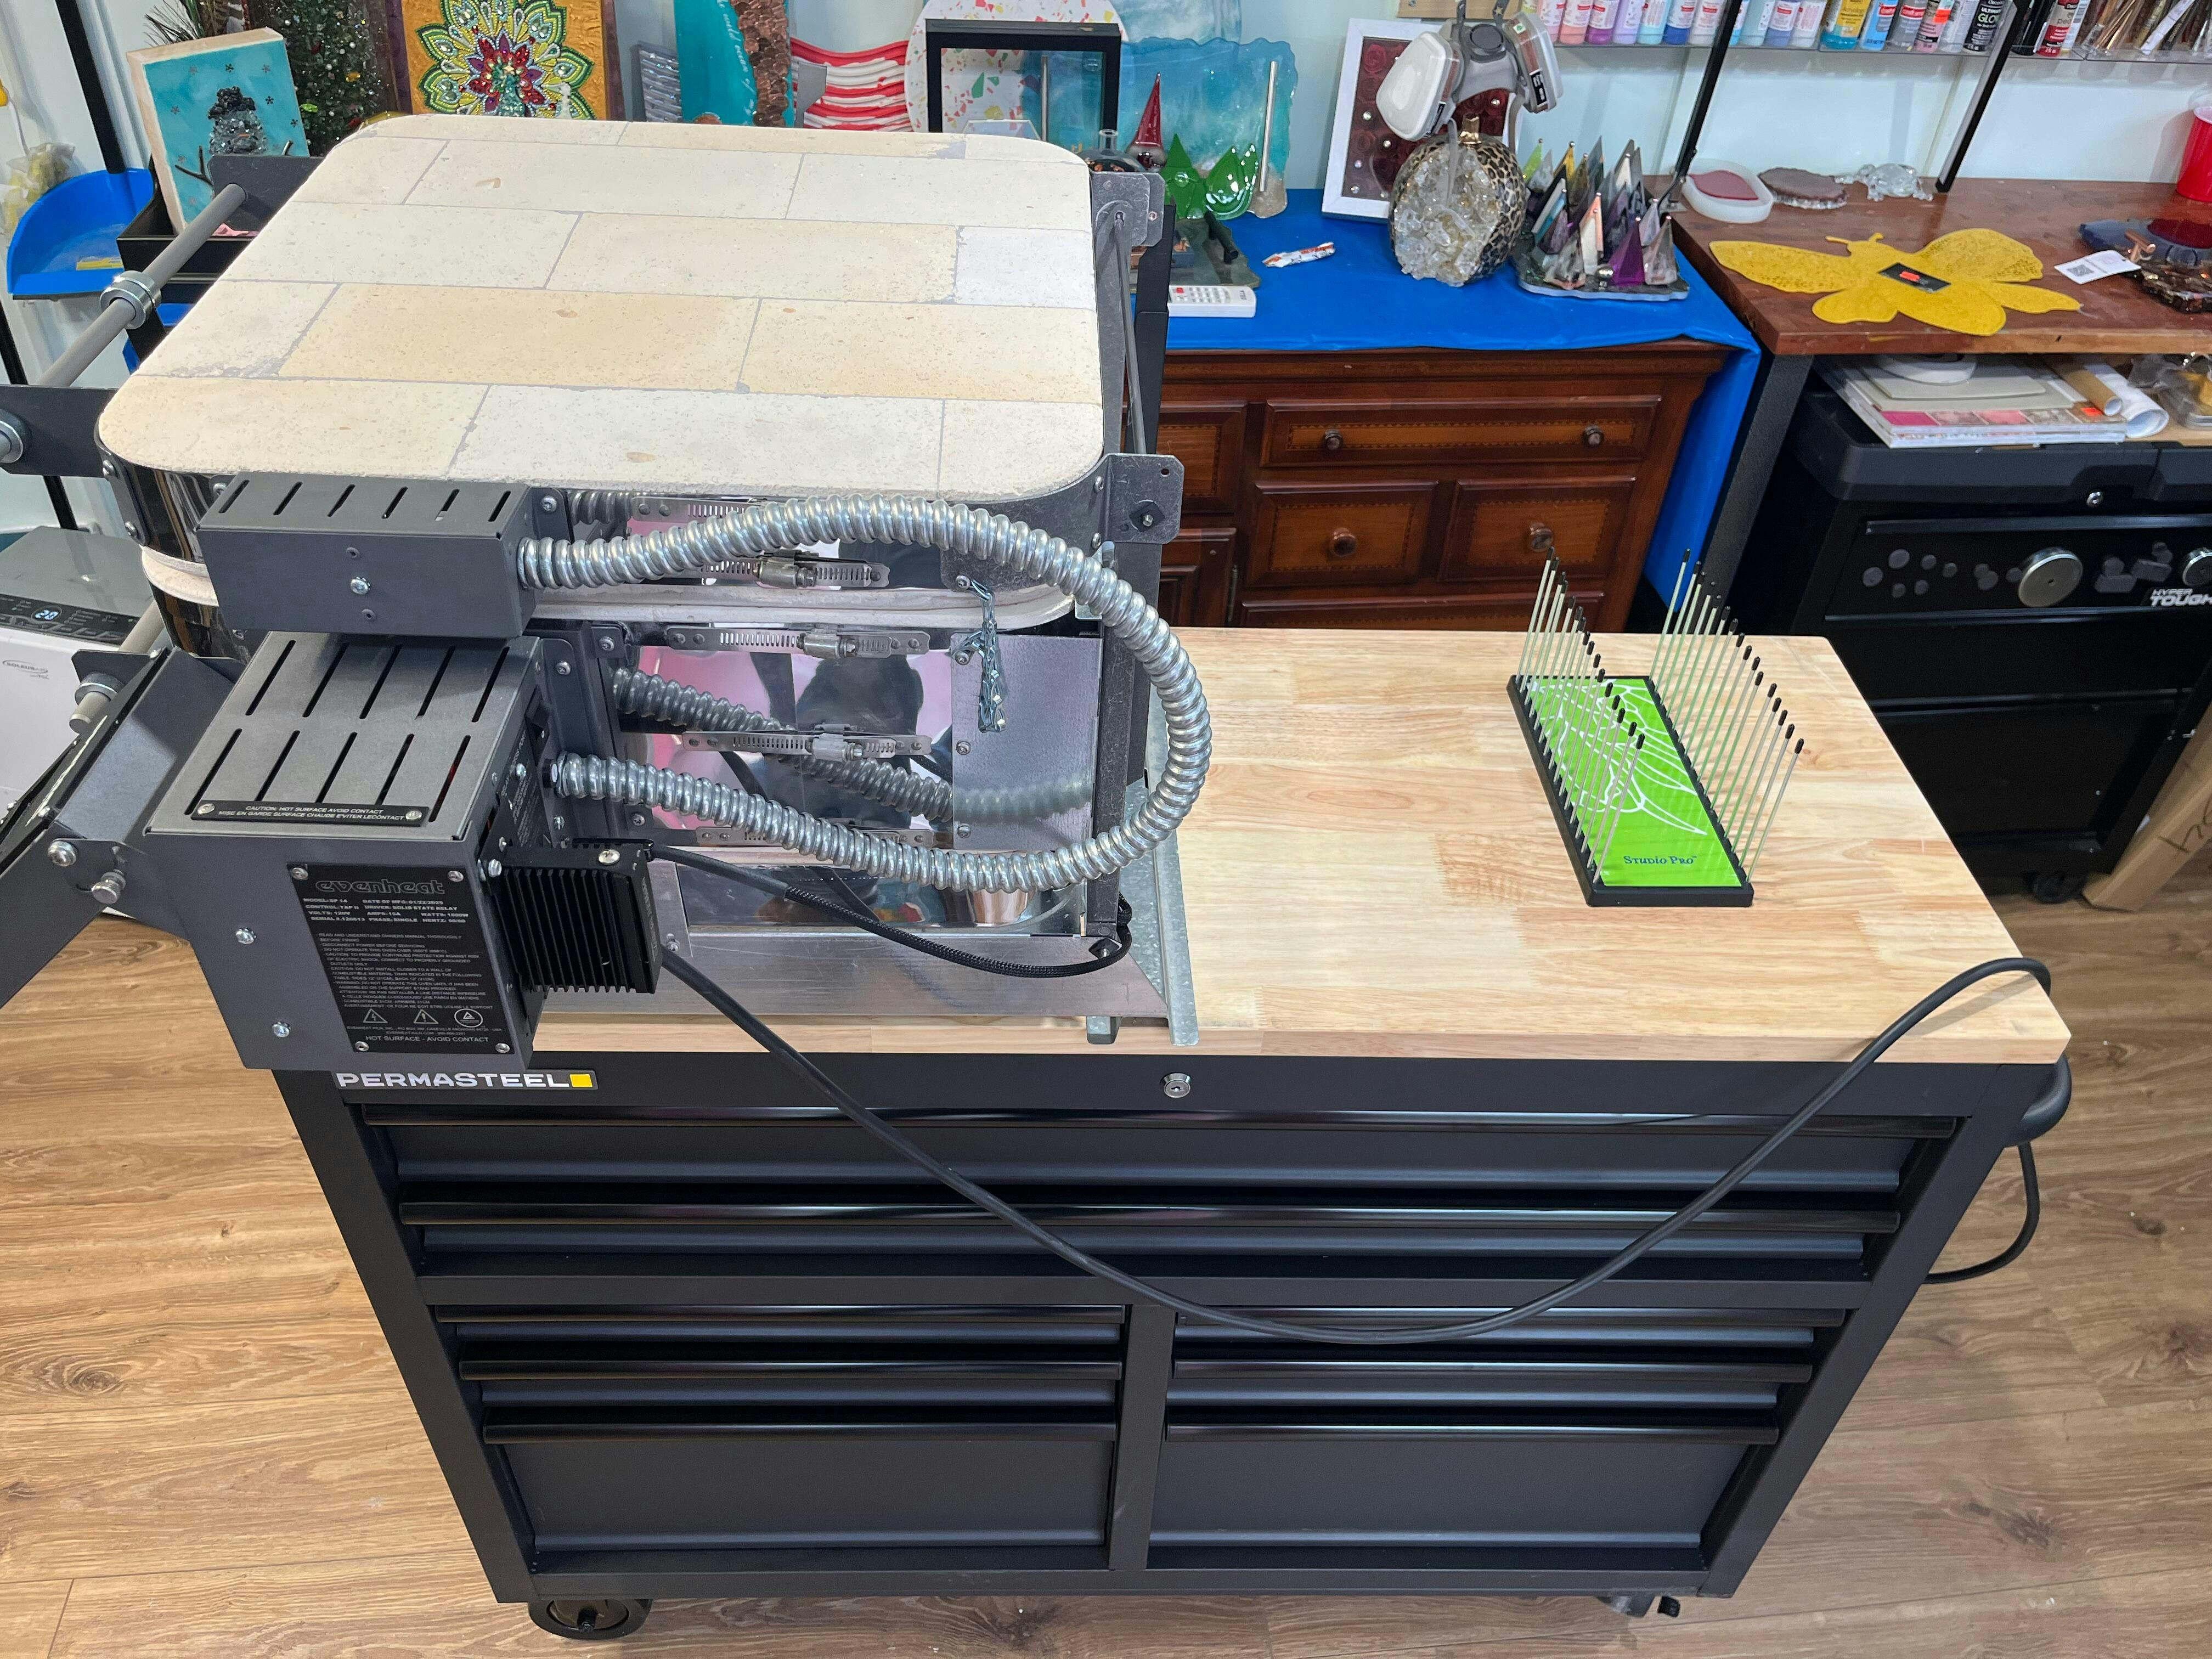
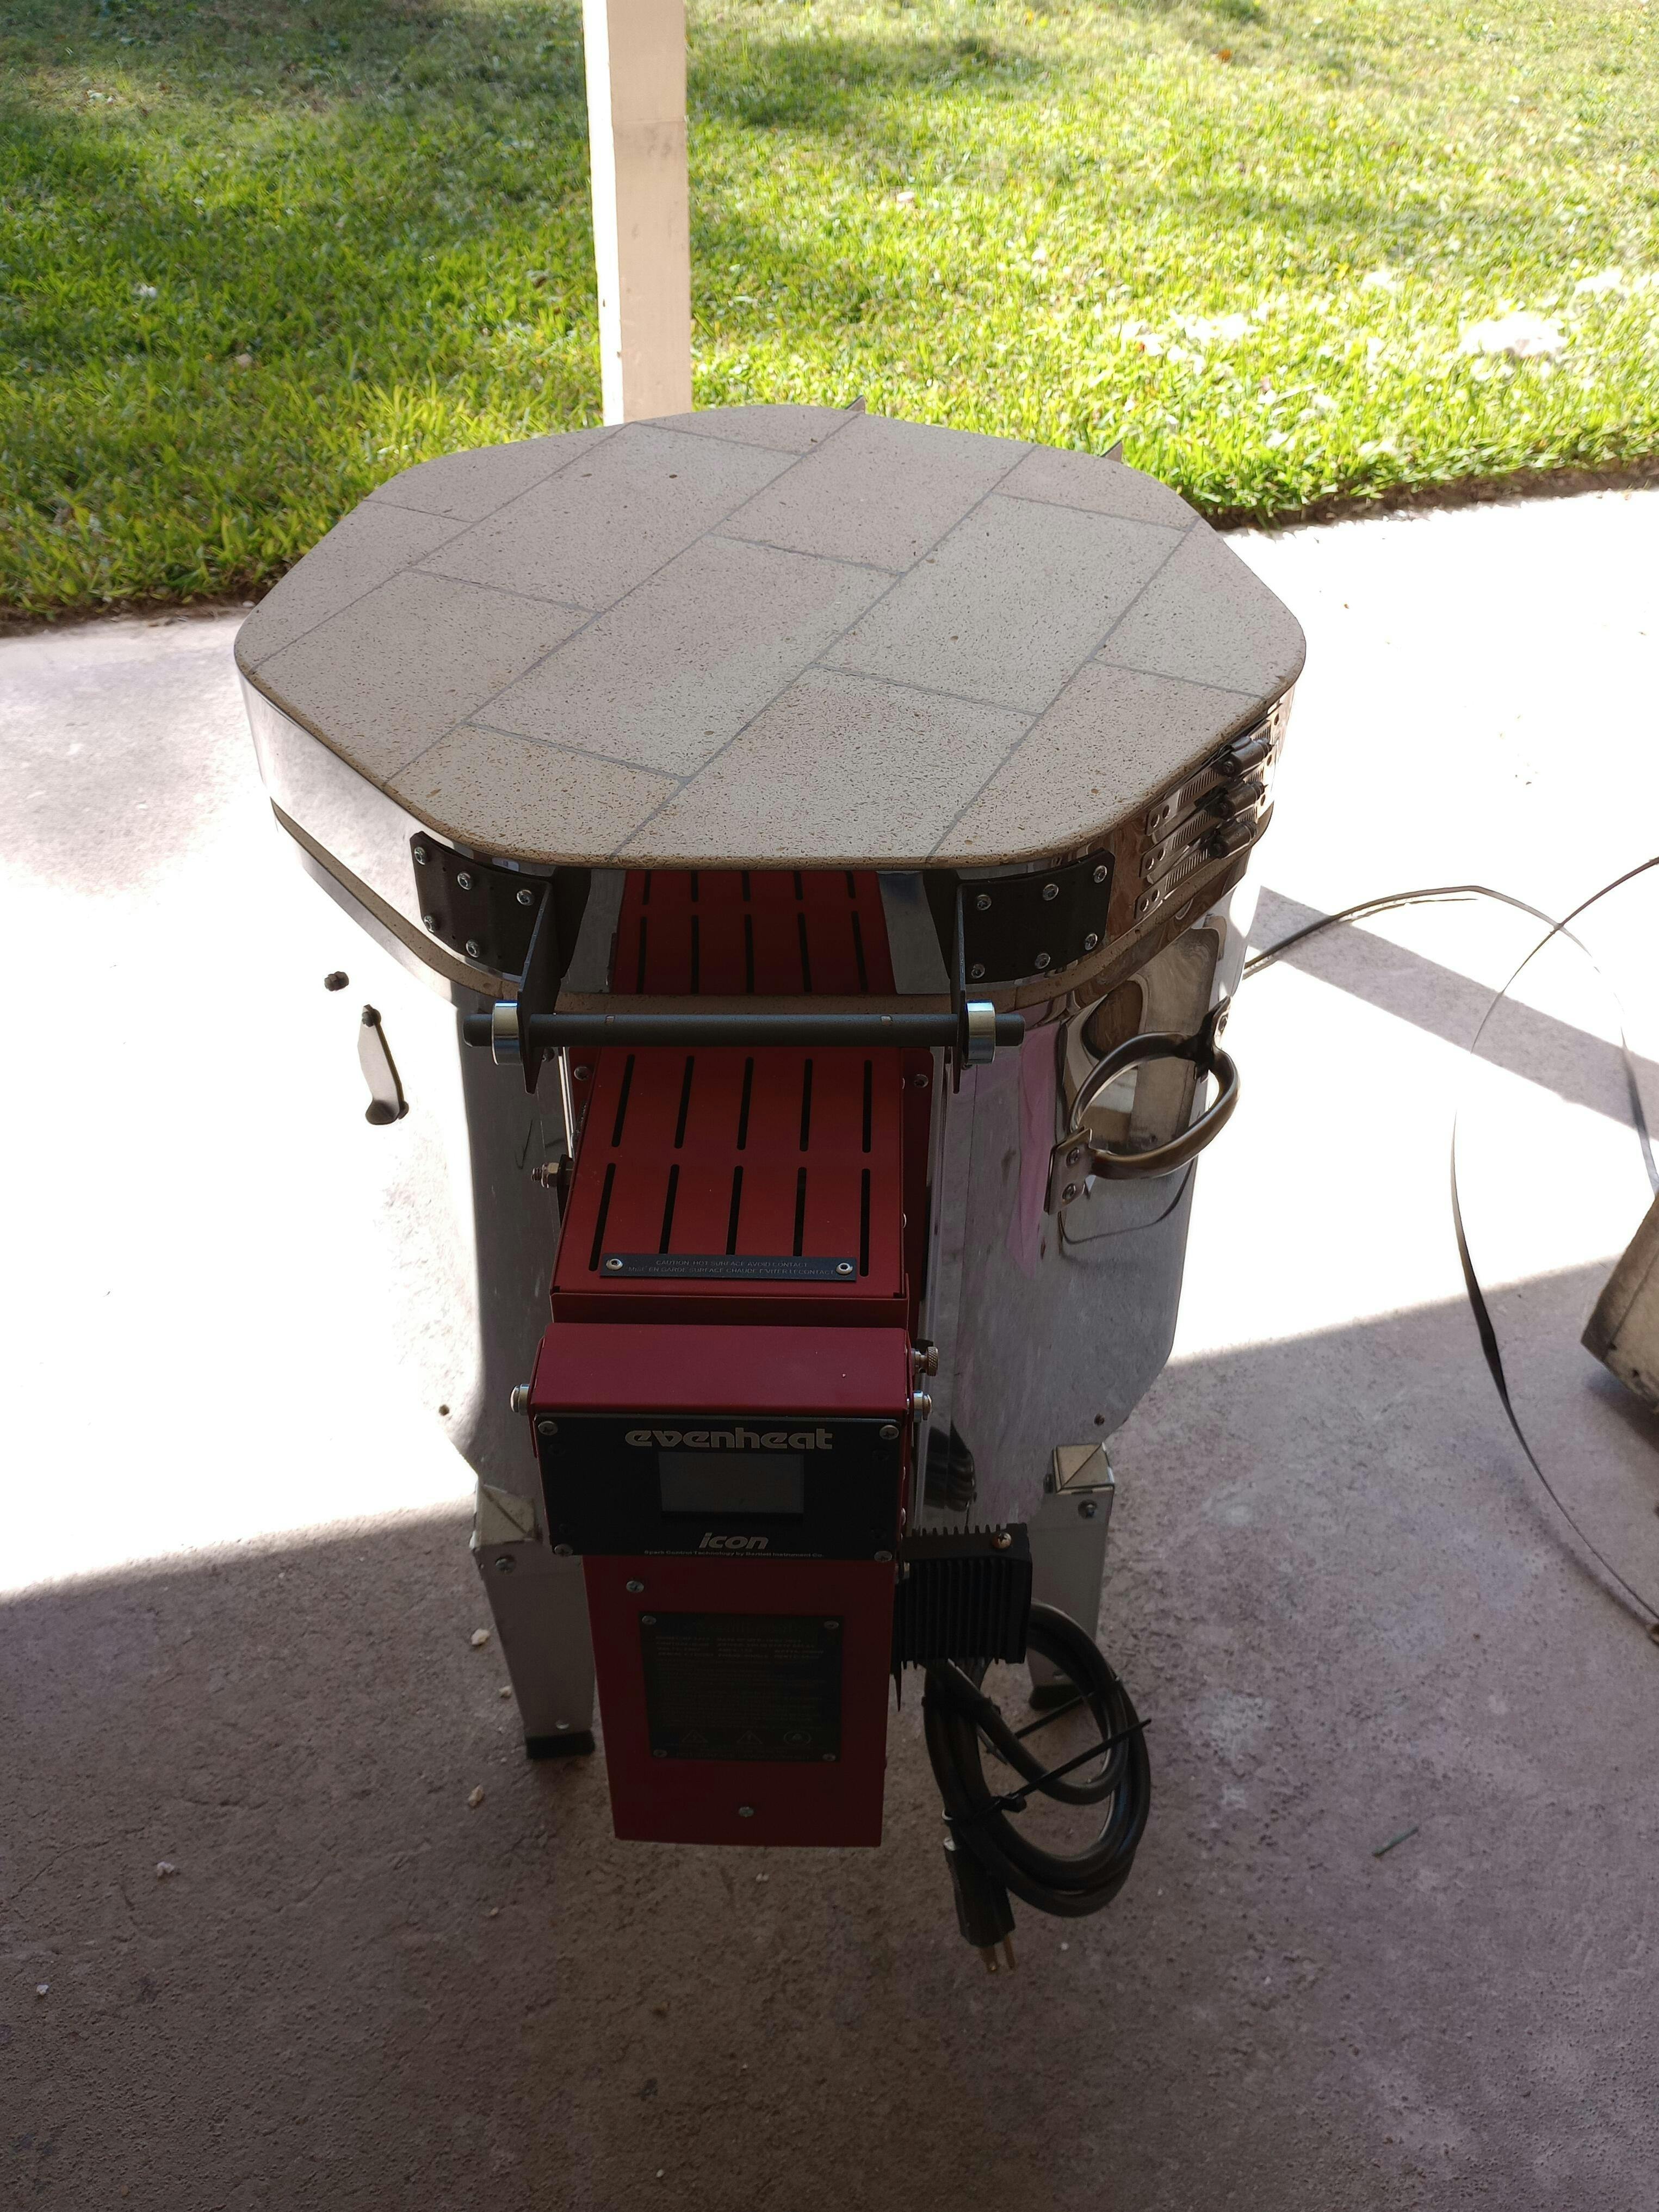
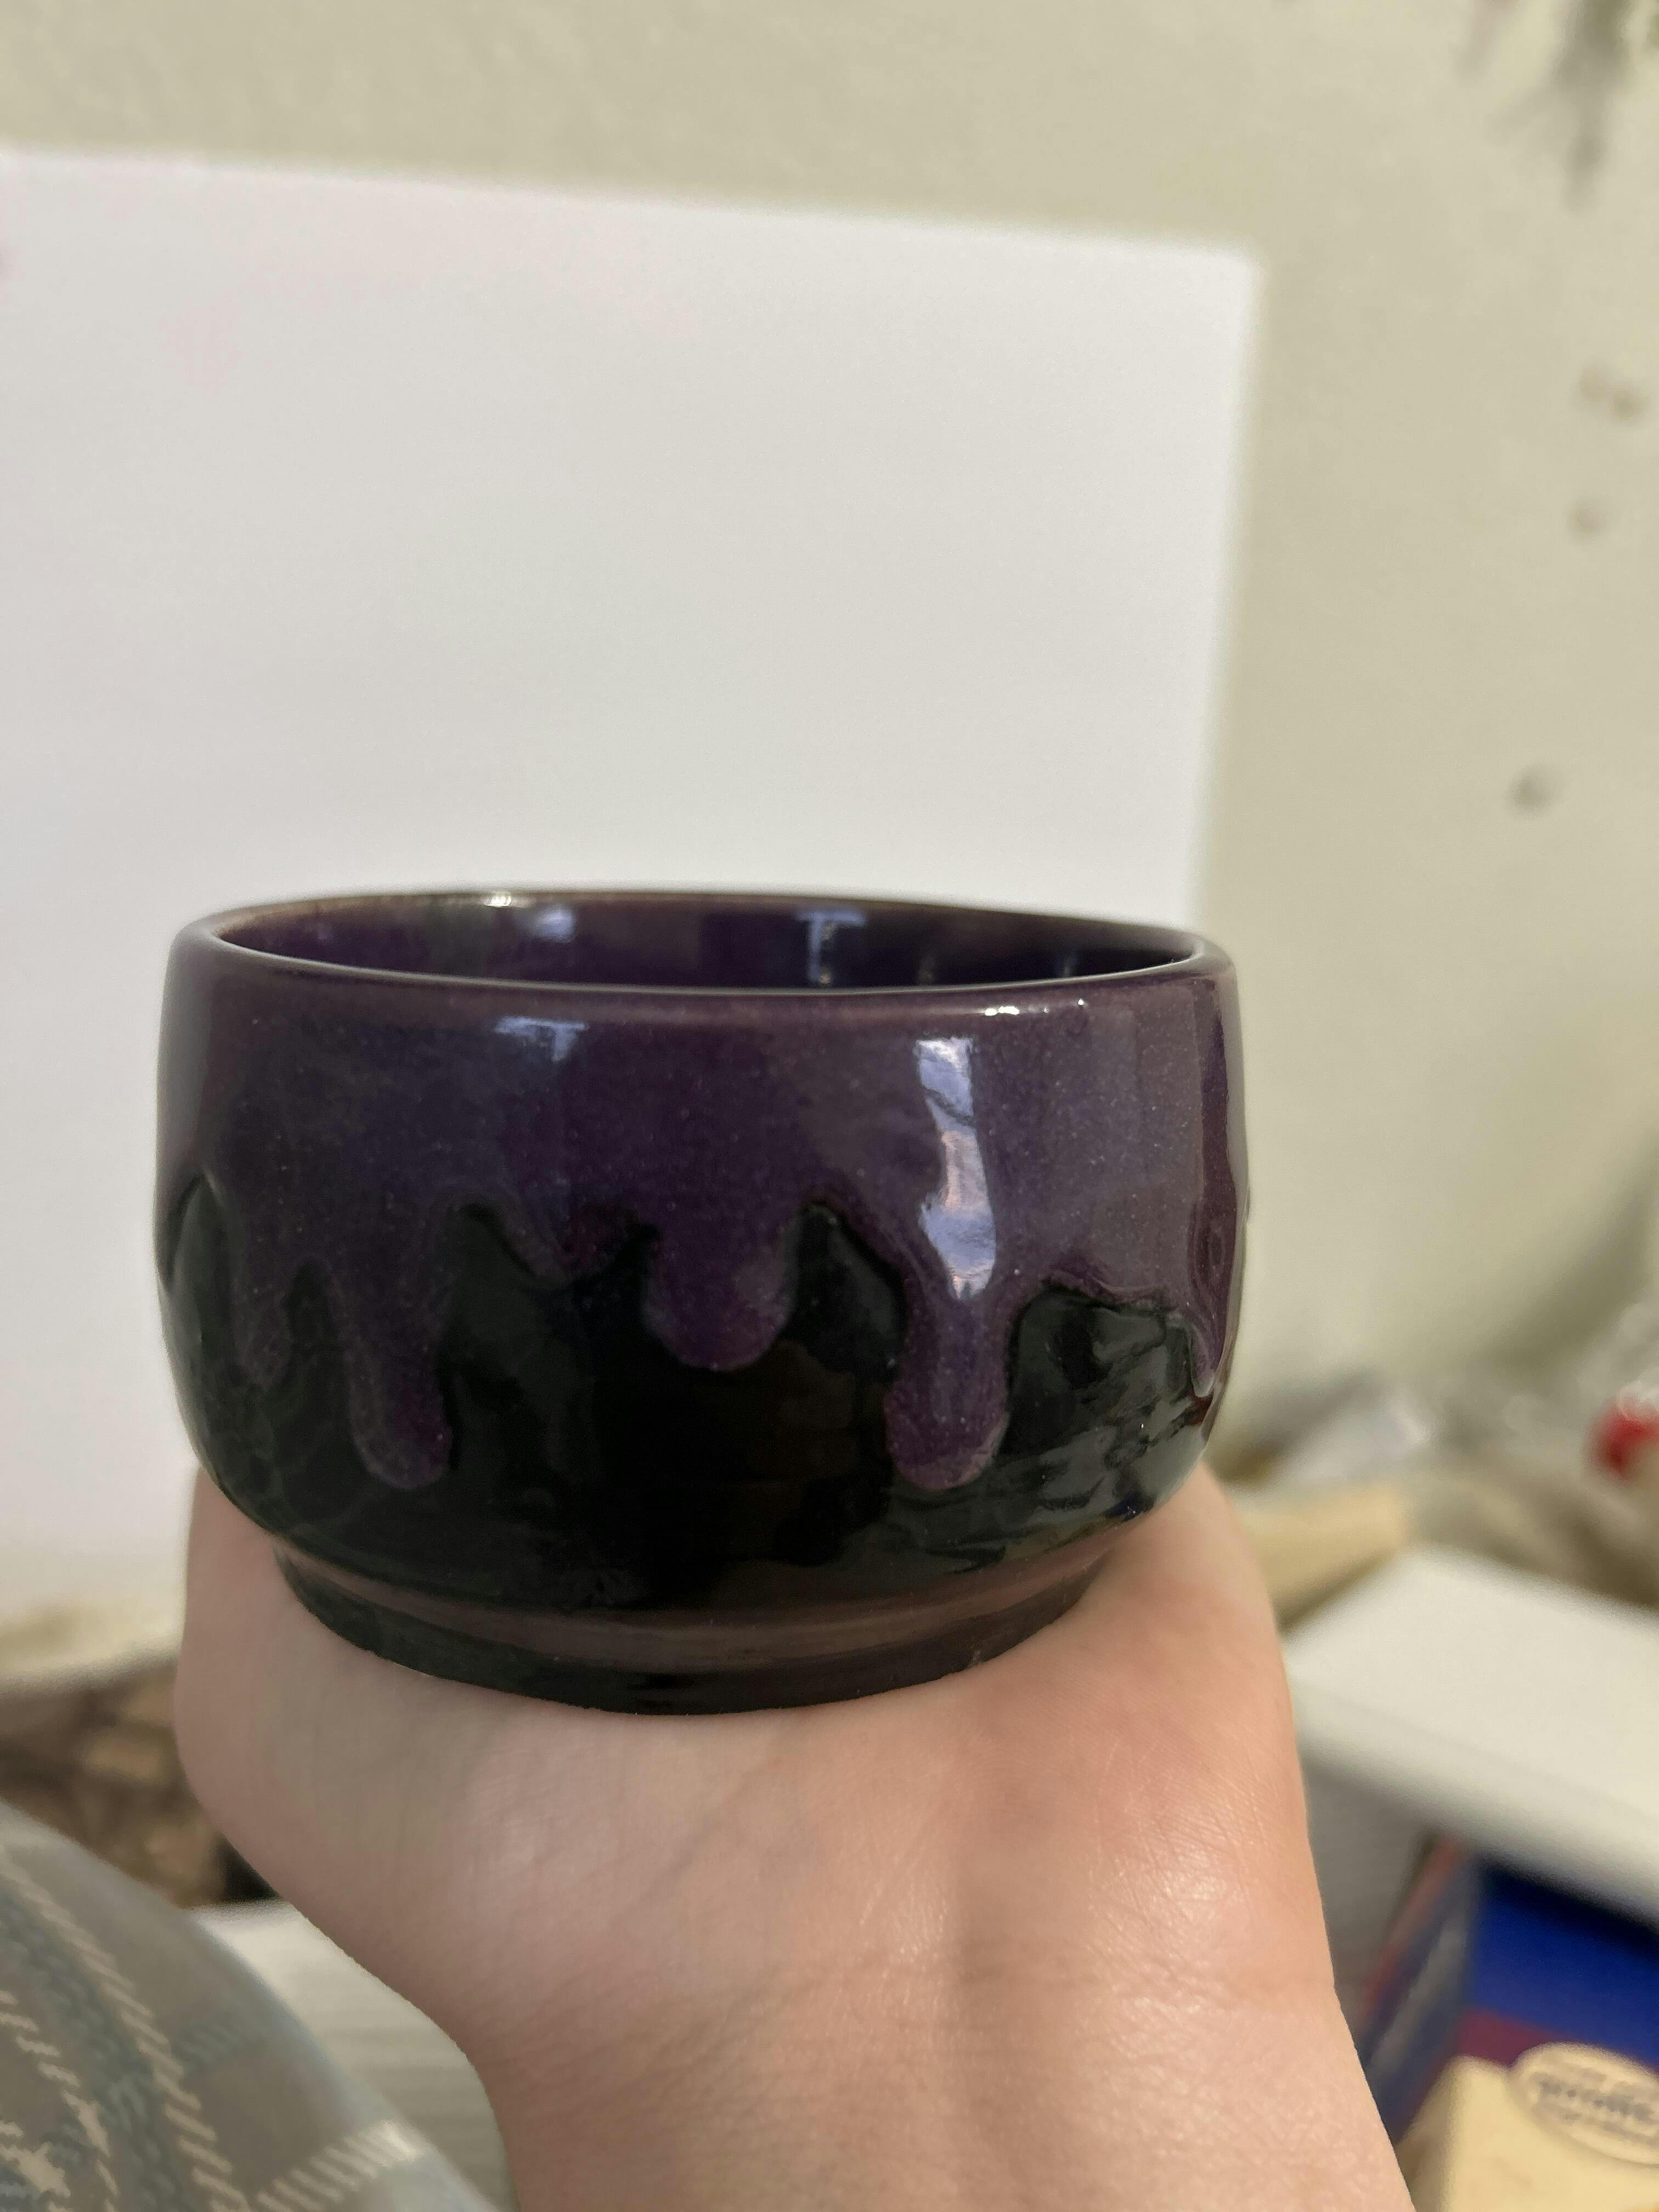
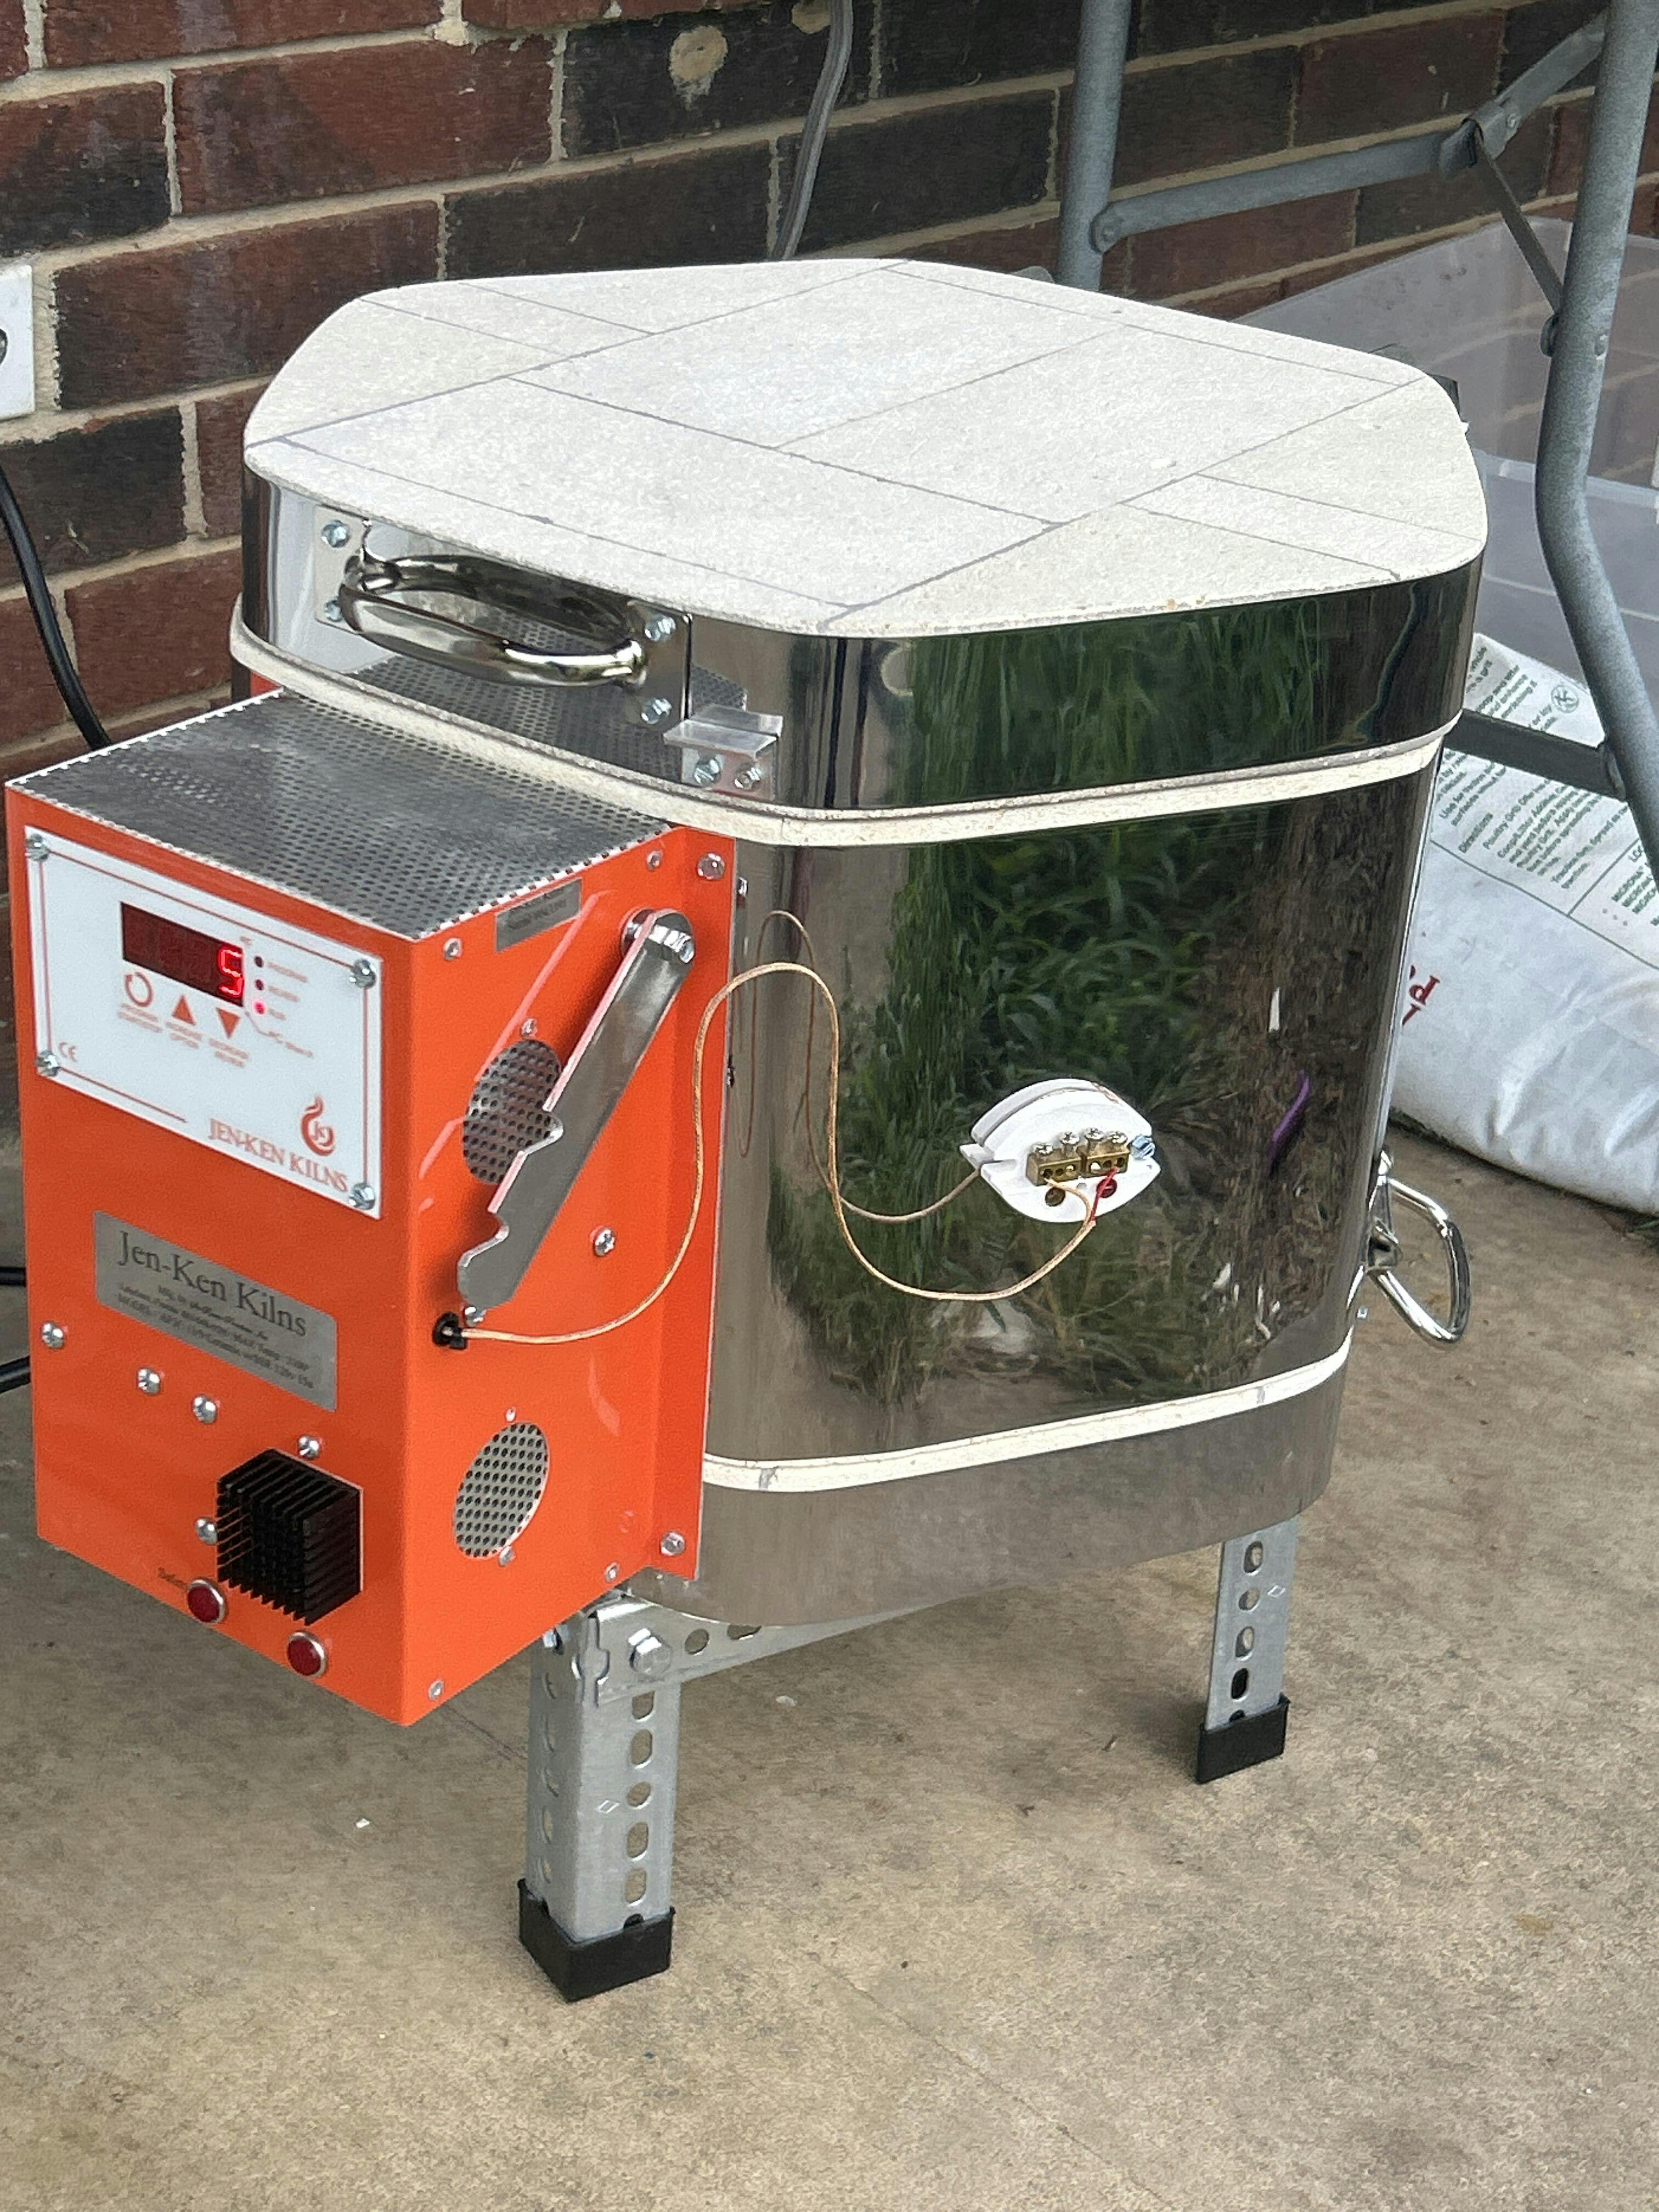
I originally ordered a doll kiln, but decided it was too small for my needs, settled on the Evenheat HF 1413HF, after calculating it would hold at least 8 of my very large mugs for a glaze firing. Discovered it actually holds about 10, which is great. Opted for the simplest Icon controller and I'm glad, it has just enough info for me to keep track of how each firing did, including the cost per firing, and the menu selection is super simple to choose and modify if I want to. Was surprised at the cost -- I'd heard horror stories of people swearing firing a kiln at home would break me financially for the energy costs, but once I fed in our local (admittedly low) utility rate and wattage, my bisque and glaze come out somewhere between $1.20 and $1.50 per firing. Nice! I'm quite happy with this size kiln, it isn't so big that I go weeks without being able to fill it, but is also compact enough that if I wanted to fire just a few pieces one week, it's easy to do without wasting a ton of empty space.
By far, the nicest thing about this size kiln is the firing time -- I can reliably now start it anytime in the morning, and unload it the next morning. That makes for very quick turnaround! Nice to know when I need to turn some things around for a show quickly.
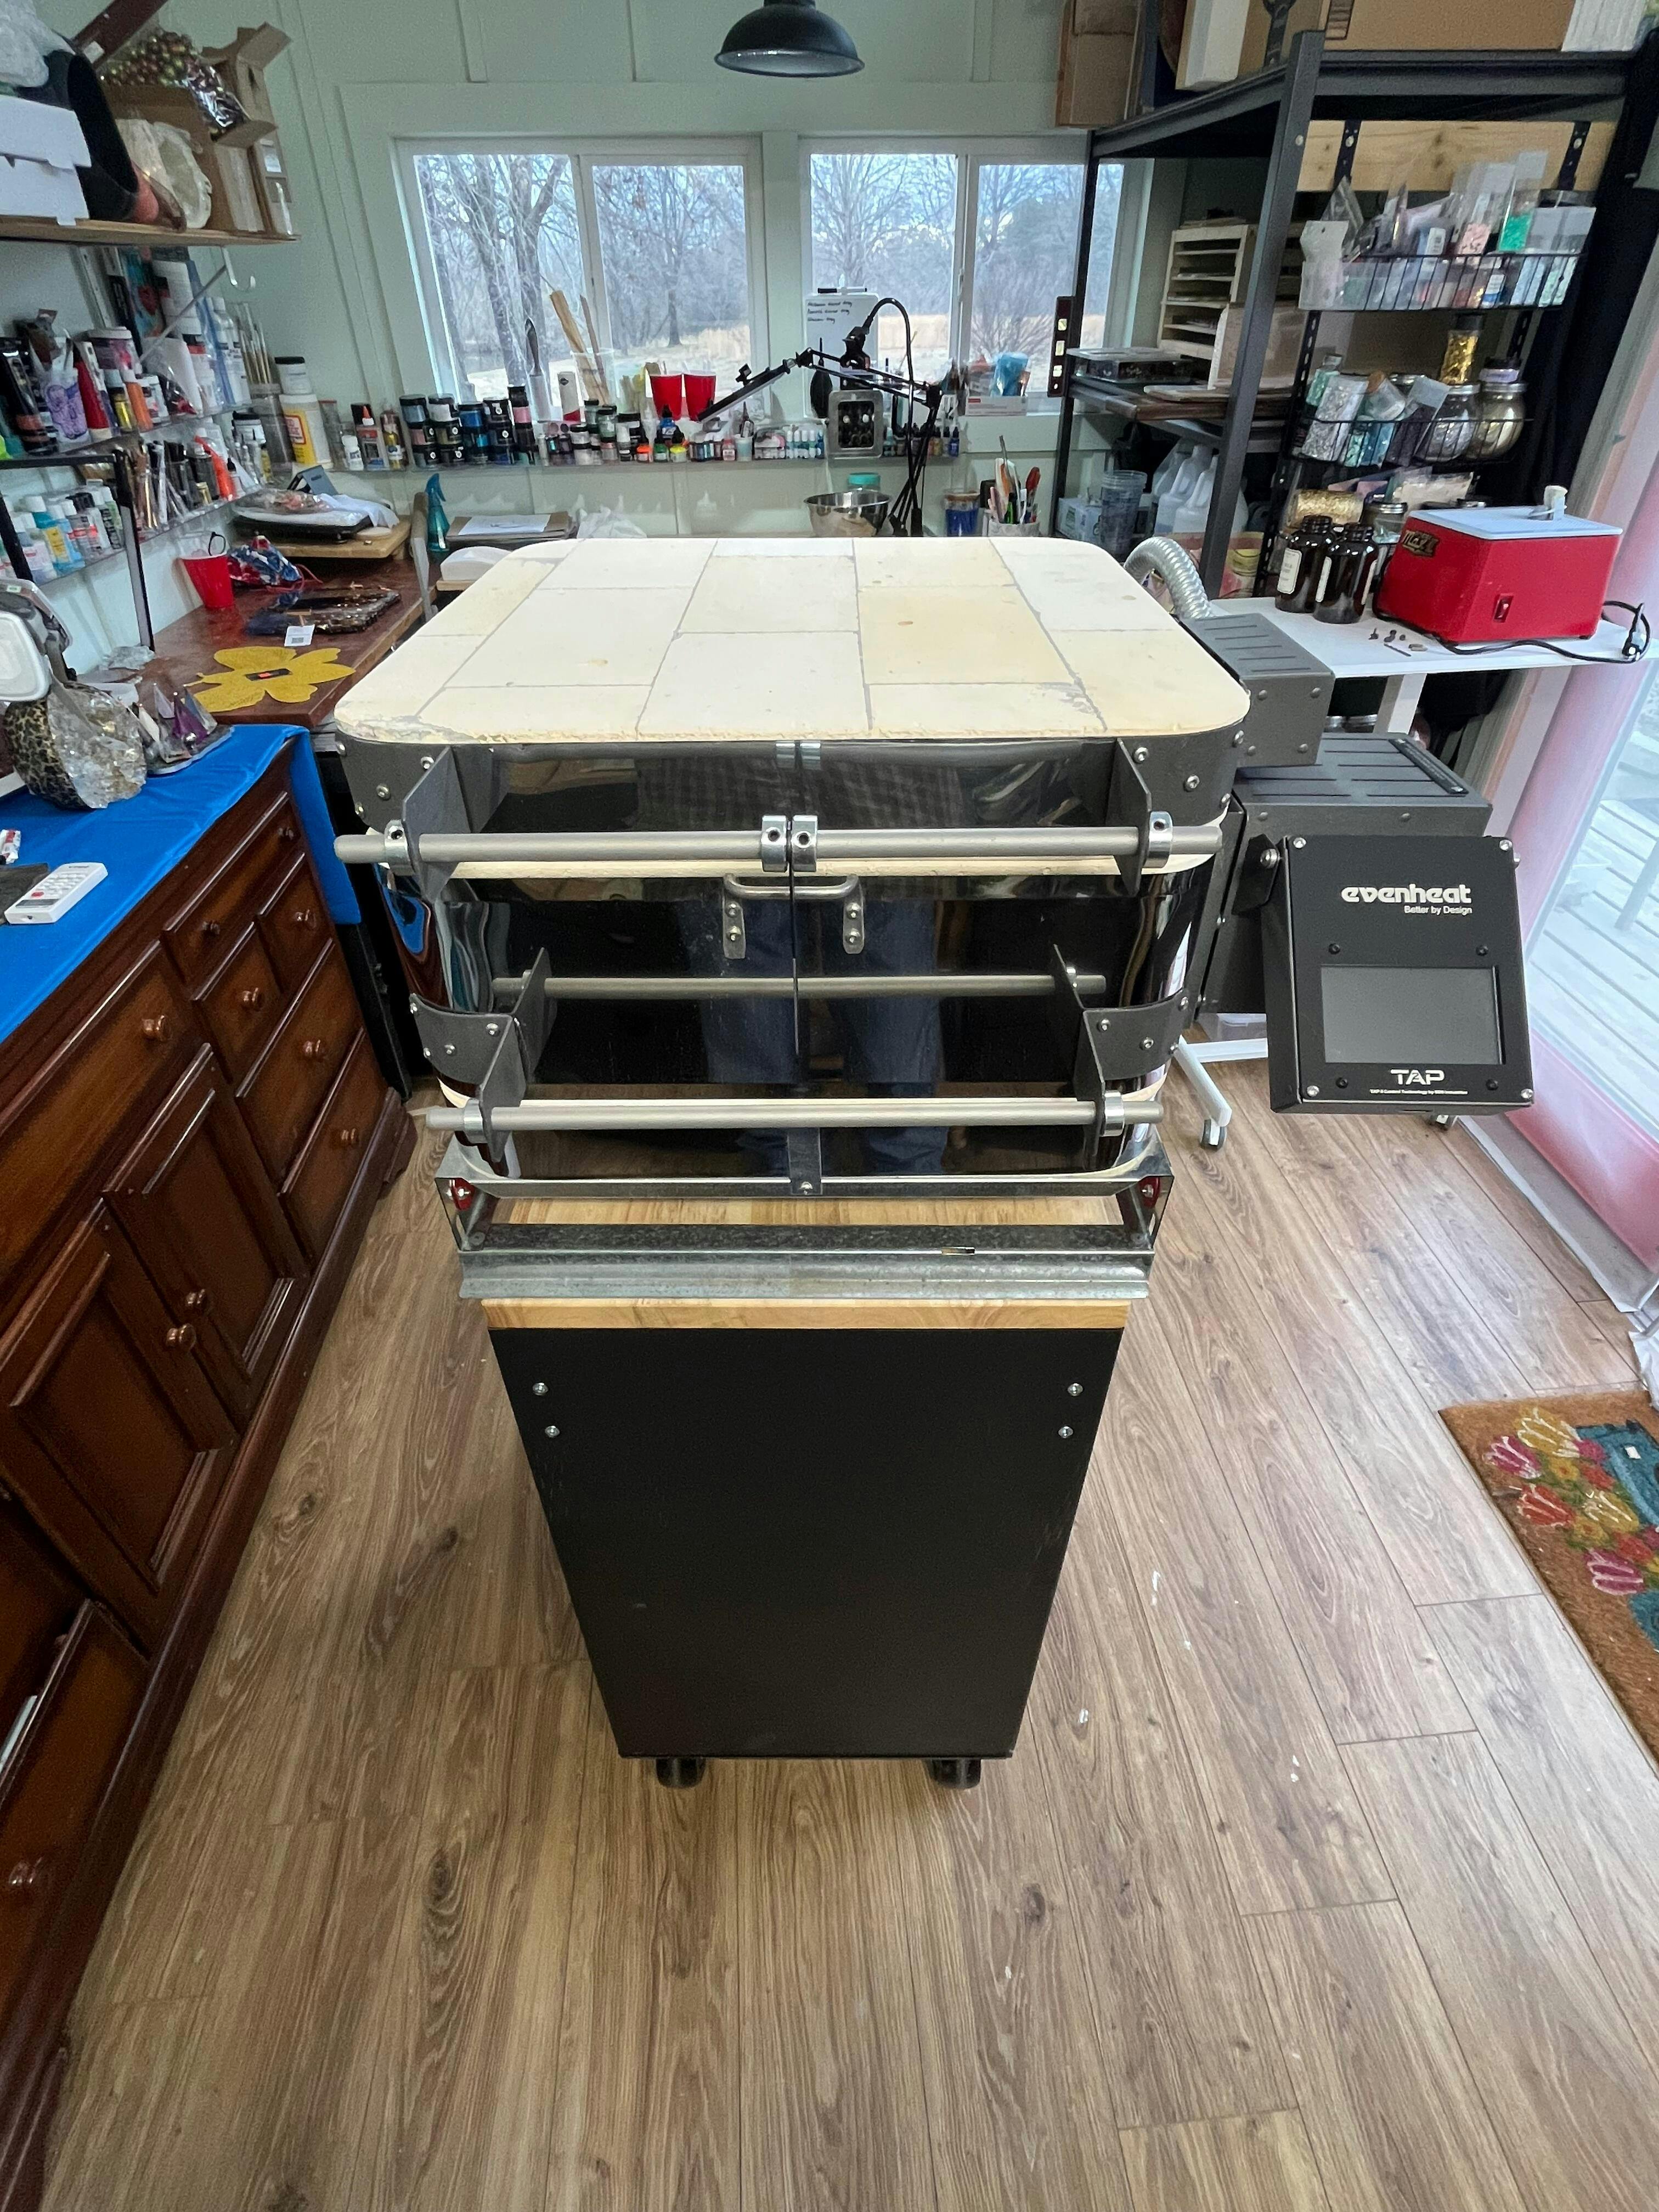
The snafu from Evenheat was that they sent me the wrong size shelves for the kiln -- not once, but TWICE! Apparently a mis-labeling of boxes of kiln furniture at their warehouse? But I called them directly and emailed when I got the second wrong box, and they handled it quickly, even overnighting the corrected size.
Overall, happy with the purchase. Like the 2 year warranty, and Evenheat seems easy to work with if the need should arise. This is my first kiln and the ease-of-use is ideal for a newbie. The size means any future maintenance should be simple enough, so I would highly recommend this as a perfect-sized first kiln.
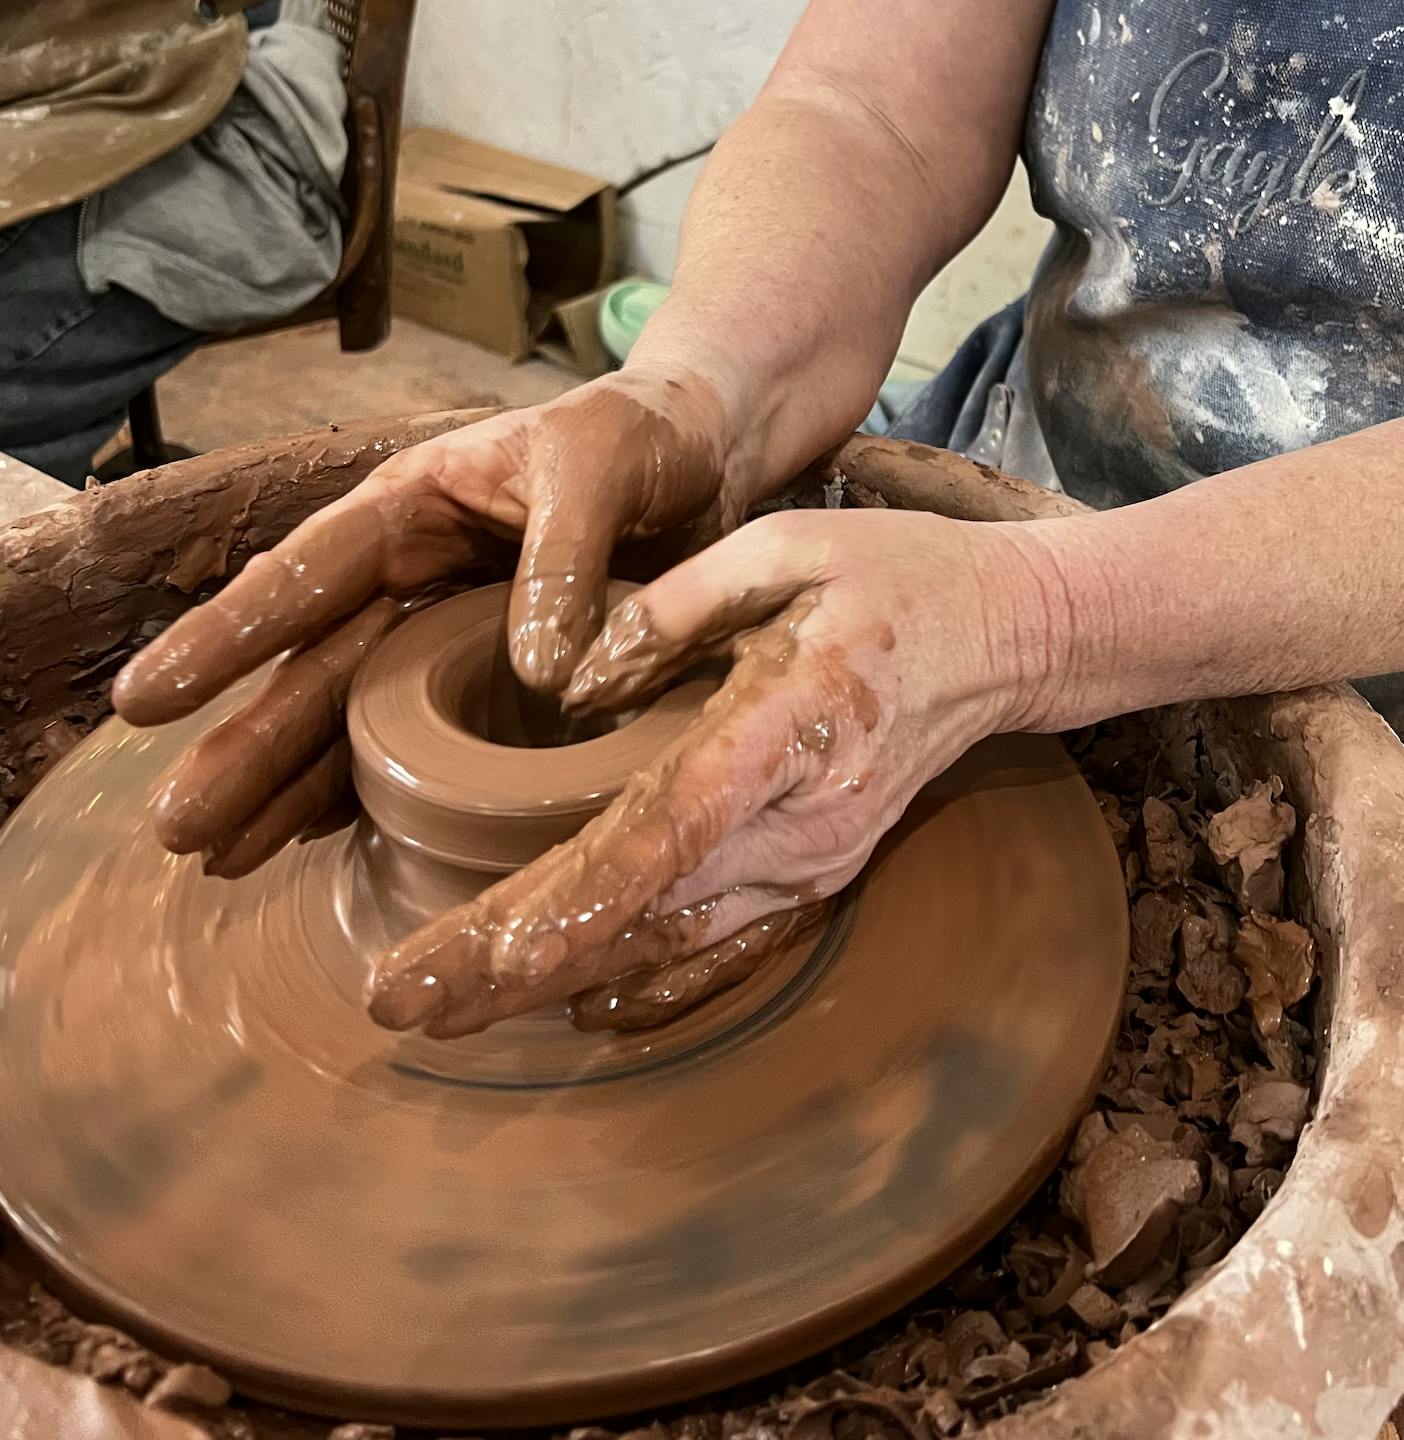
I had been using a friends Artista for a few weeks when I decided to buy this one. I already knew, of course, what to expect. A great little machine! It is exactly what I need for my little home pottery station. Dealing with Soul Ceramics has been very satisfying. Thanks!
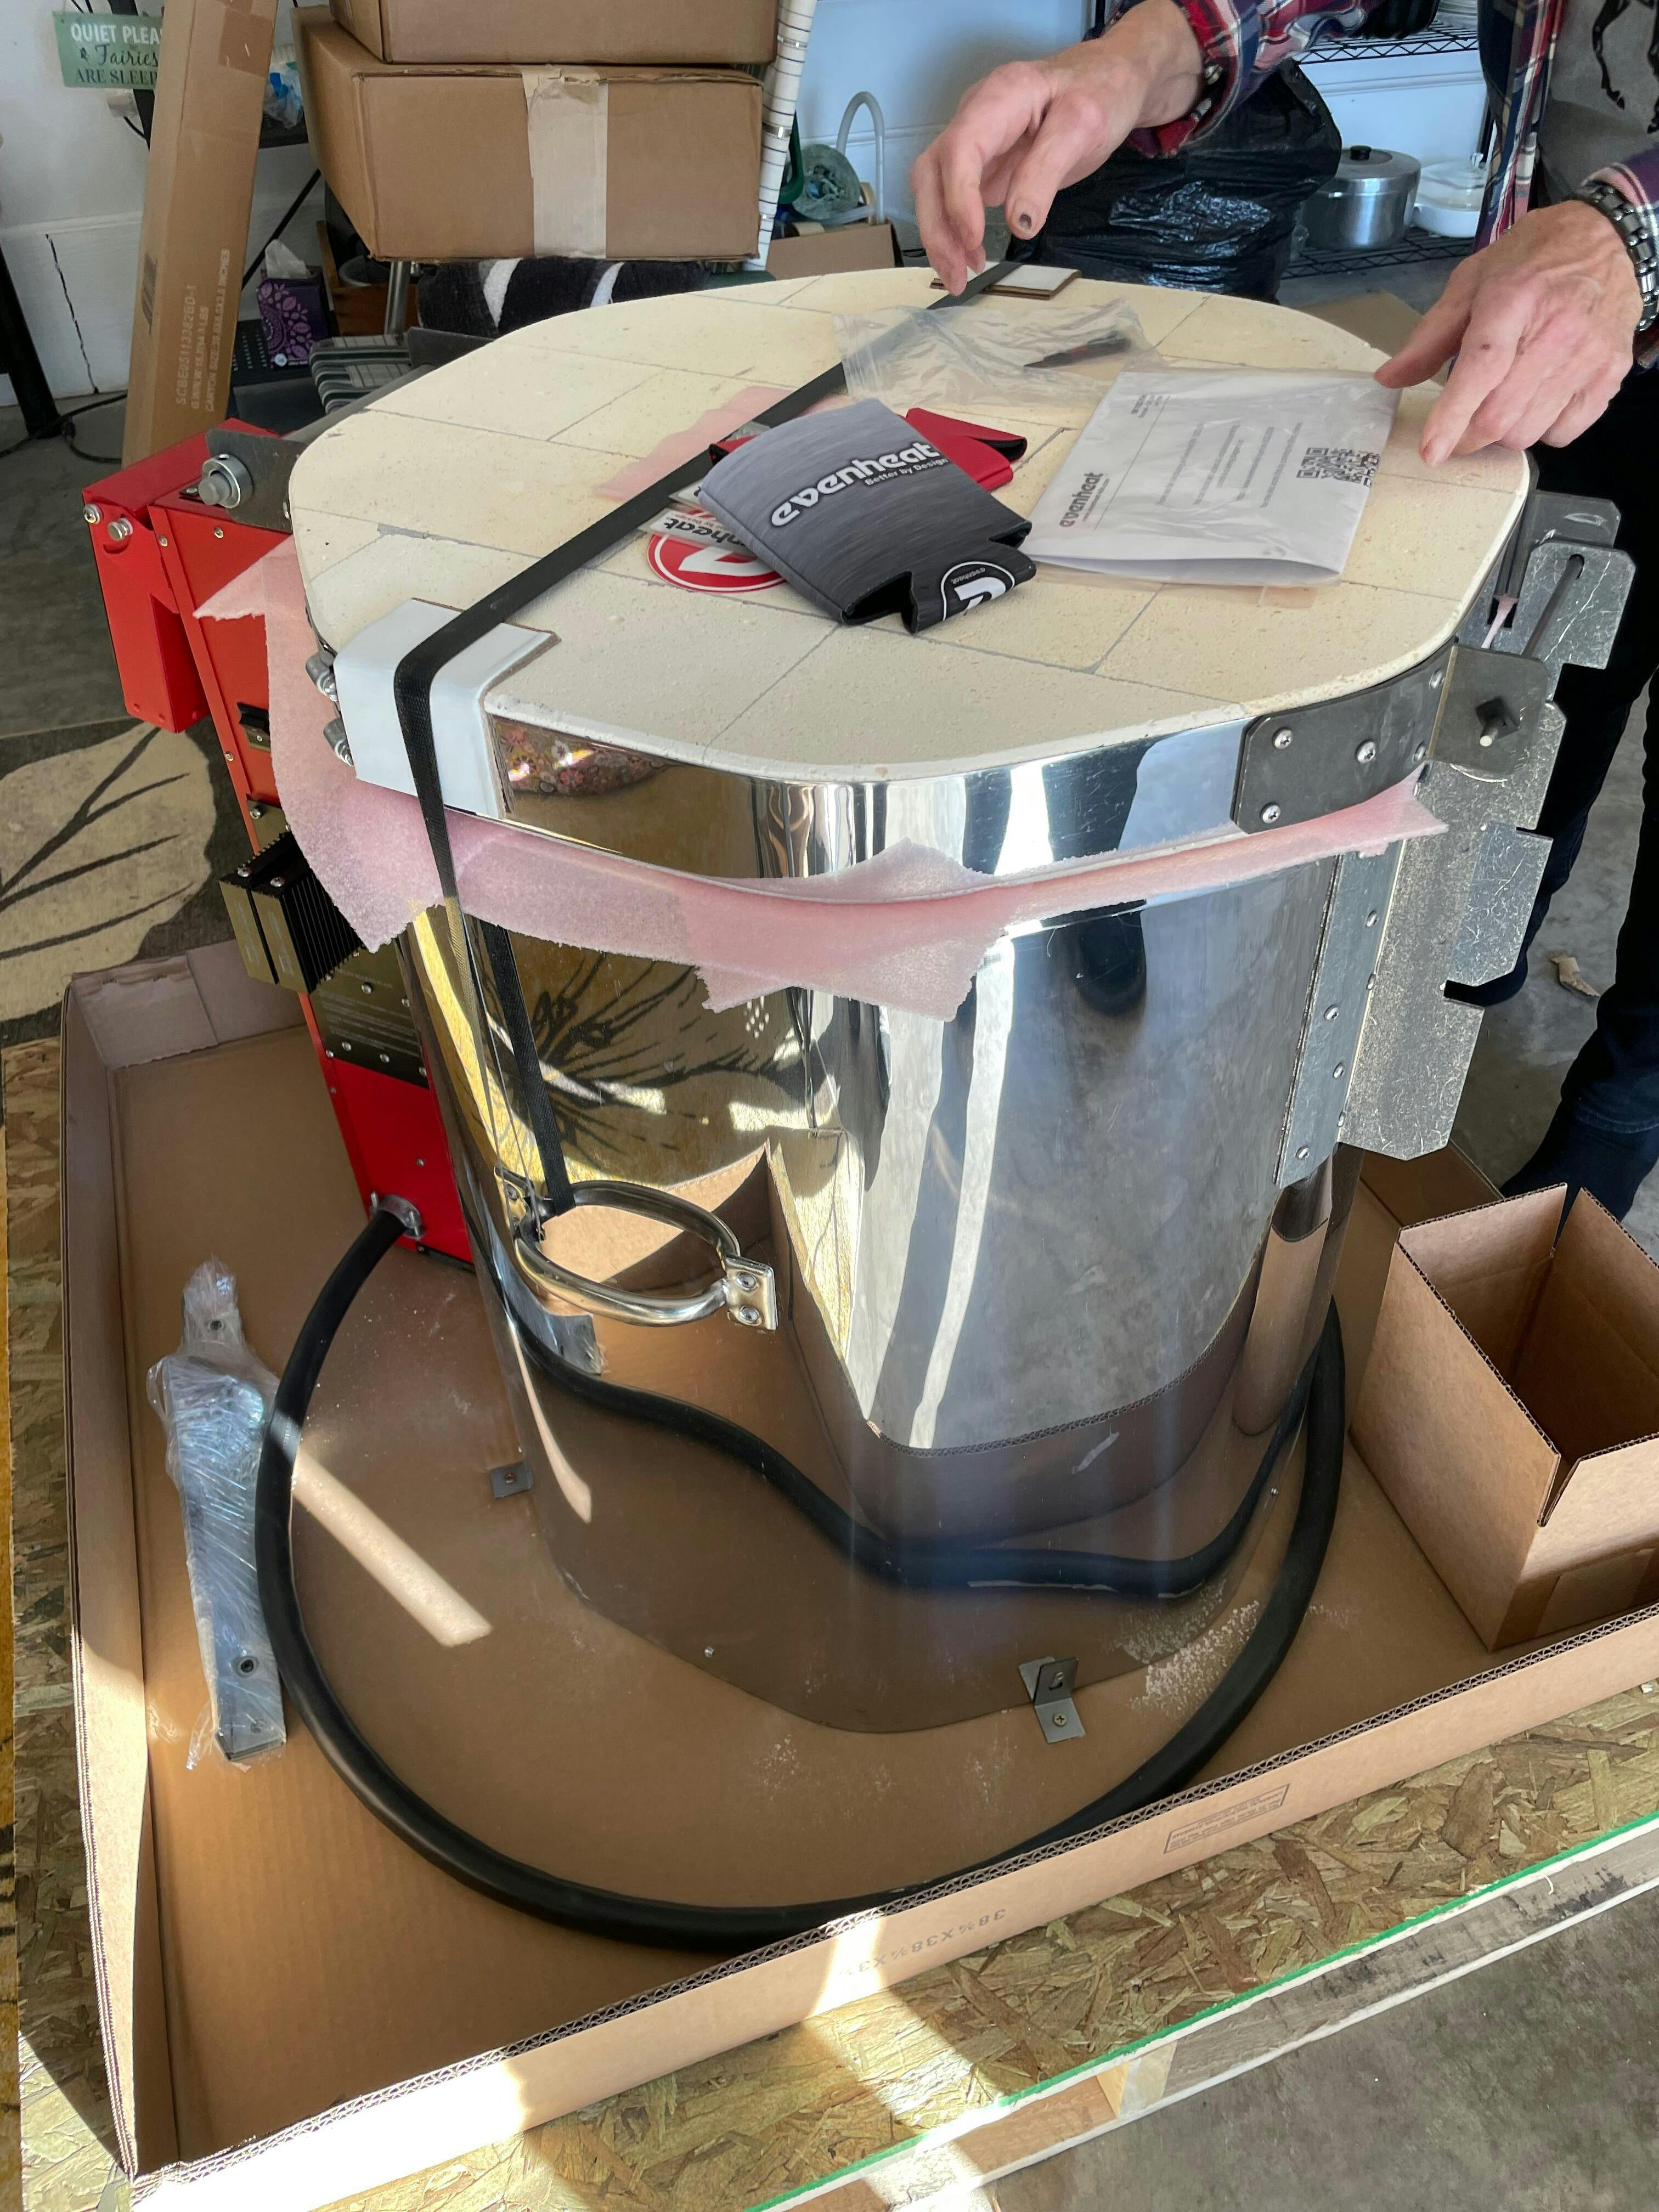
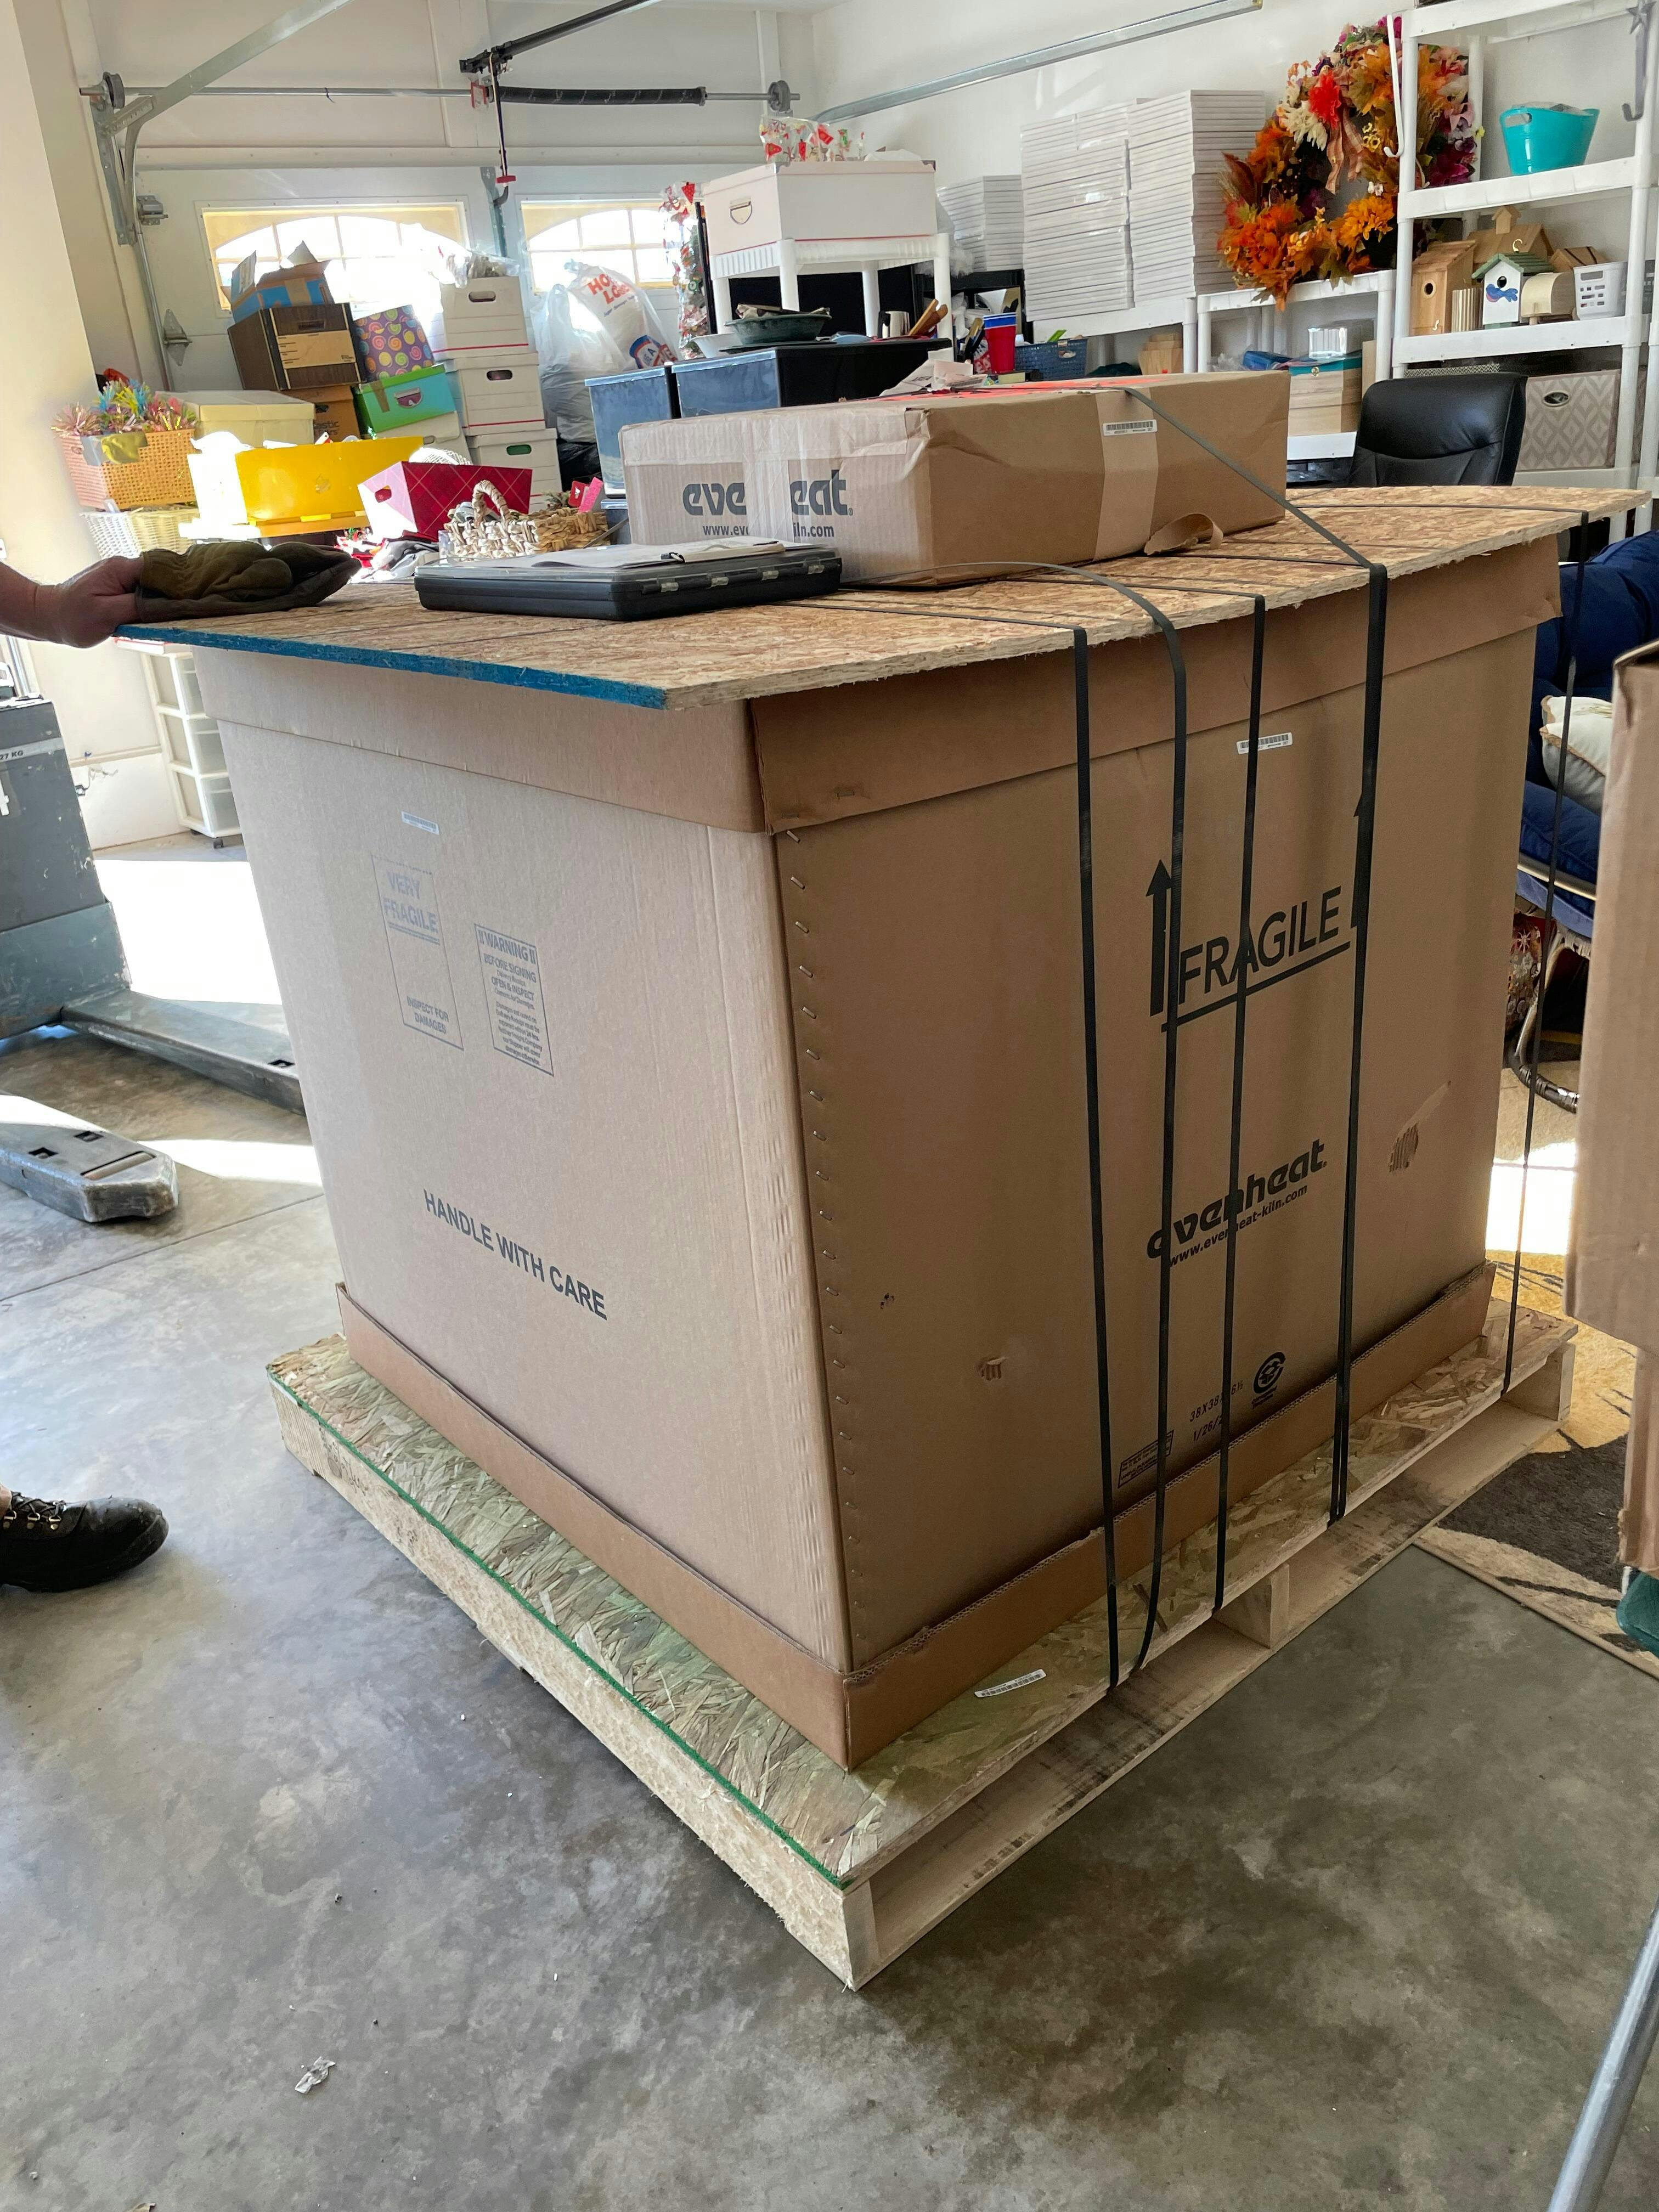
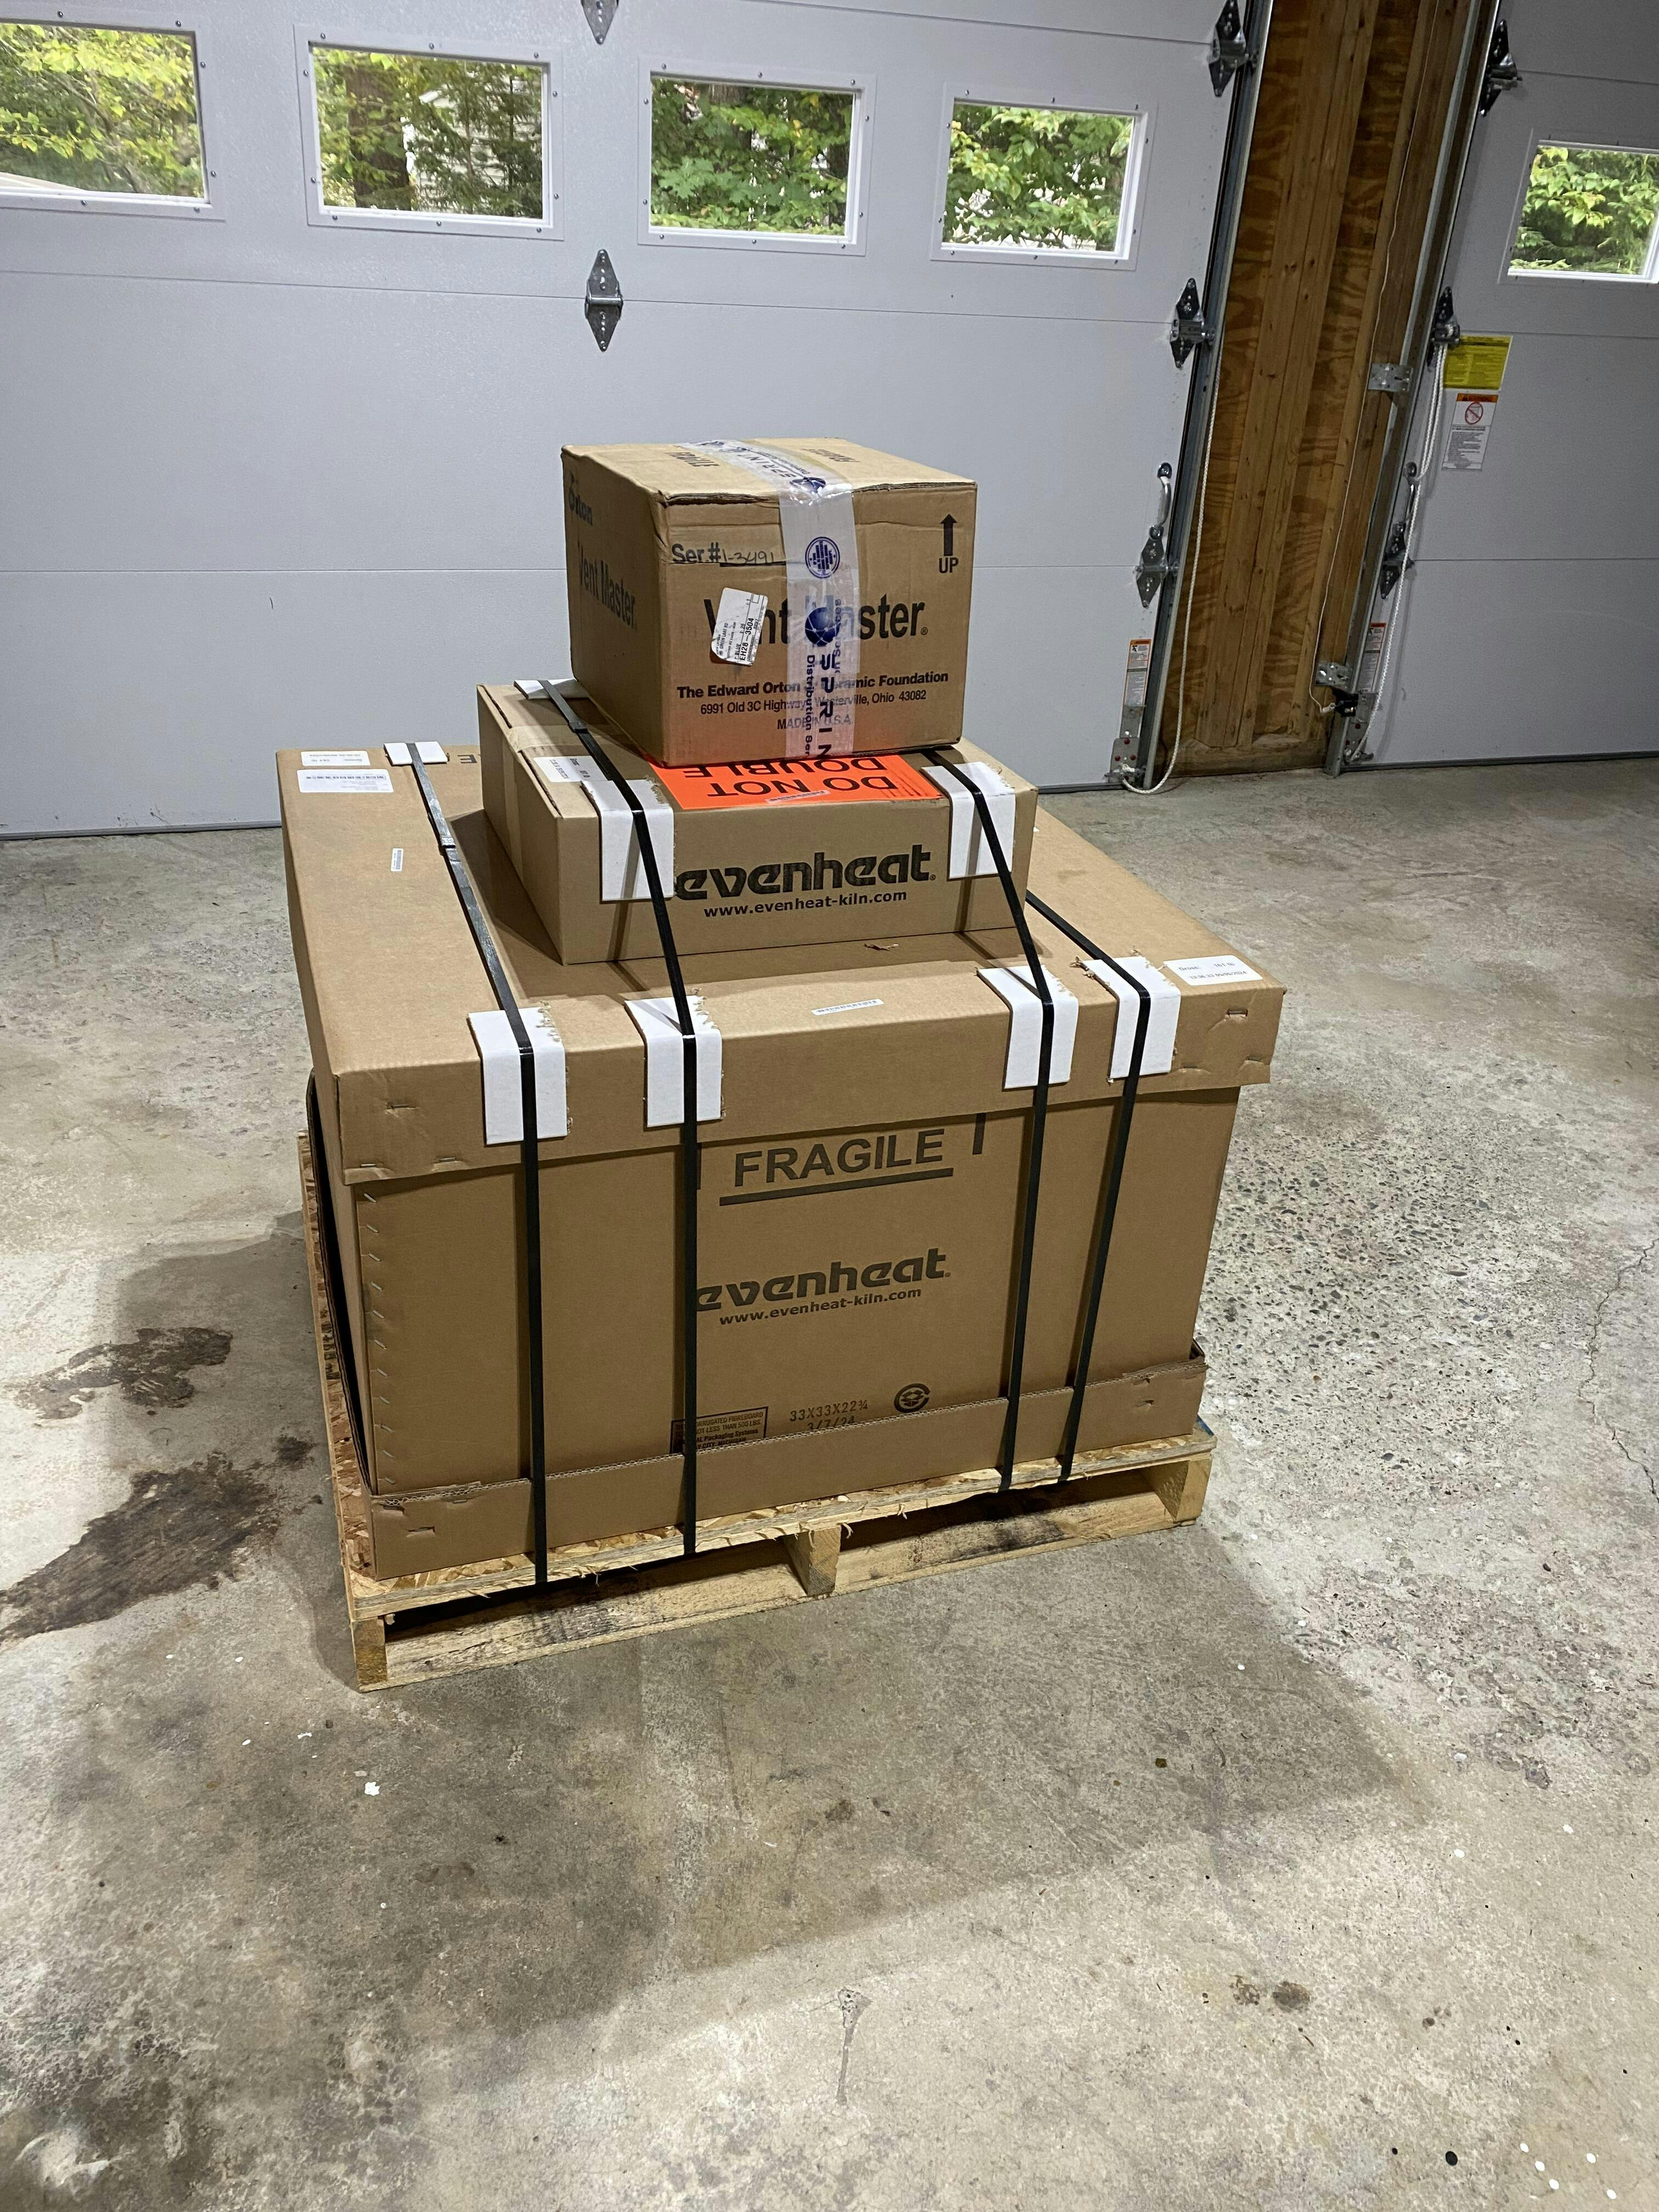
Our Evenheat Kiln actually arrived earlier than the 6 - 8 weeks. Soul Ceramics communication was stellar. They kept us informed each step and answered our question promptly. The kiln has not been uncrated yet as we are moving. However it arrived completely intact. Honestly there is not a mark on the boxes
Once it is set up we have no doubt if we need assistance in any way that Soul Ceramics will provide it promptly. This company should be a model for customer satisfaction for all other companies. Would highly recommend this company, and hopefully our kiln!
I would absolutely recommend Soul Ceramic for purchasing an kiln. They answered all my questions in a timely manner, offered the best price, and had great communication in regards to production and shipment. Everything I ordered arrived in perfect condition. The kiln is easy to operate and every piece of greenware, ceramics, clay, and glass I have fired so far have looked beautiful!
The kiln came very quickly and in great condition. The three button panel is very easy to work with and the booklet is so detailed it wasn’t difficult to follow. I just got the calendar and I’ve already used it four times. All of my pieces have come out really pretty and handled the temperature very well. I highly recommend SoulCeramics and will definitely be coming back in the future. Thank you so much!!
I purchased my new little kiln from Soul Ceramics and couldn’t be happier! I had read tons of “happy customer” reviews and now I’m one of those totally satisfied customers too! Their customer service is beyond compare. The weekly updates, postcards, and email follow-ups concerning the expected shipping dates was really appreciated. My kiln came even earlier than expected, which was a great surprise! I highly recommend Soul Ceramics. They were fabulous to work with!